If you’re looking to achieve a consistent & professional looking edit for your photos, editing in Adobe Lightroom with presets can be a huge advantage. They not only give your photos unique eye catching tones but also speed up your editing and help to give your content a consistent look.
Wondering how to edit with Lightroom presets? Sometimes applying a preset just isn’t enough to get the perfect image. That’s why we’re sharing 5 essential adjustments you need to know when using Lightroom presets.
Each photo is unique and may require some tweaking to get the desired effect from your Lightroom presets. But don’t worry, with these 5 key adjustments, you’ll be able to make the most out of your presets and elevate your photography game.
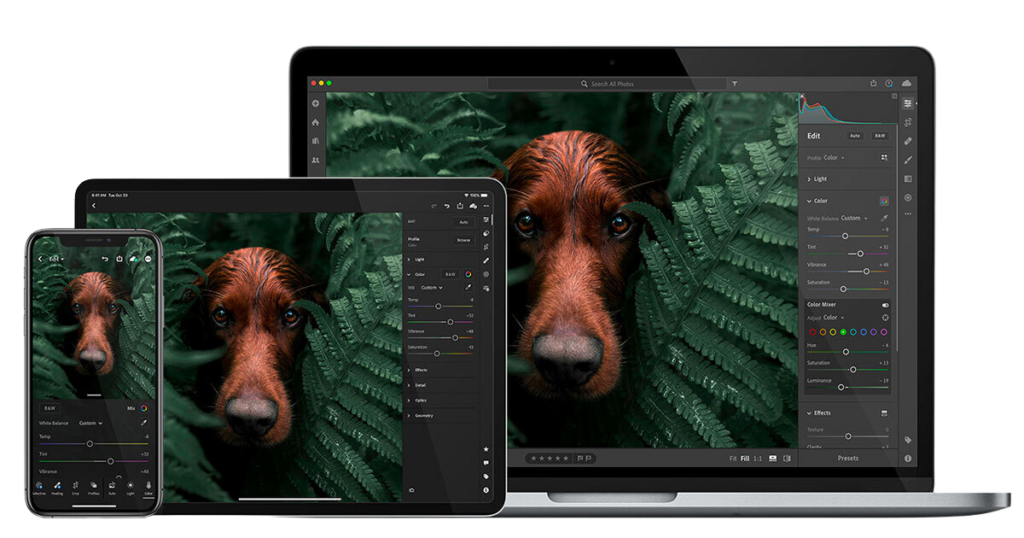
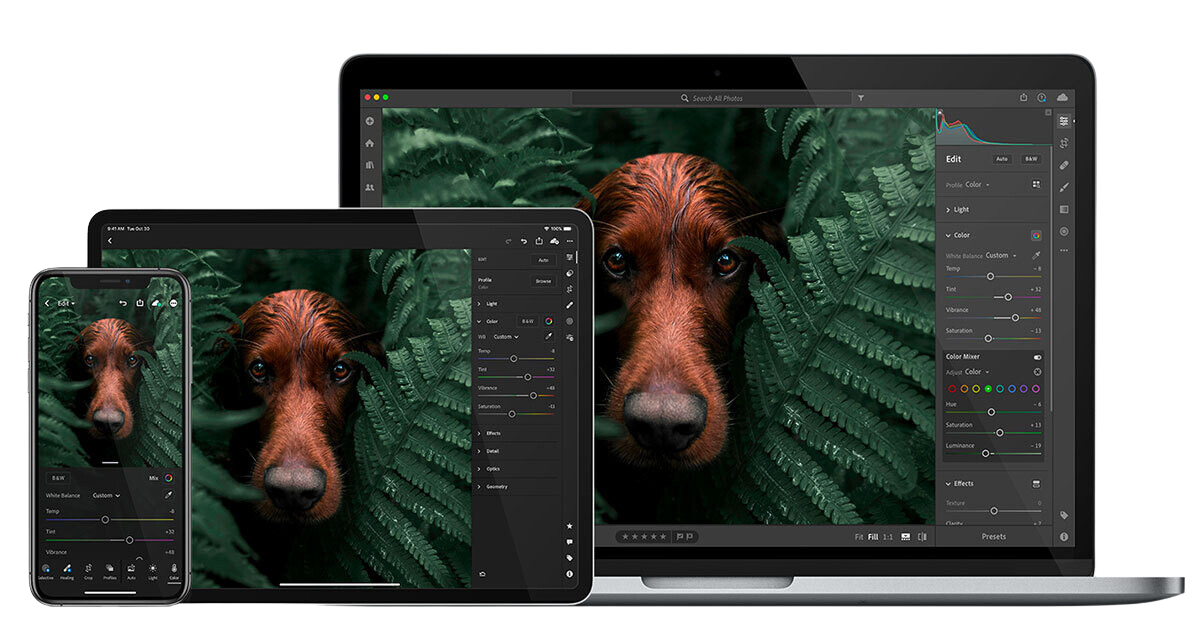
Editing In Adobe Lightroom
Whether you’re editing in Lightroom desktop or mobile these editing tools and techniques will be the same. Once you’ve applied a preset to you photo follow these 5 easy adjustments to perfect edits. Remember theres no wrong or right way to editing and photography its all personal preference to finding your own look and vibe.
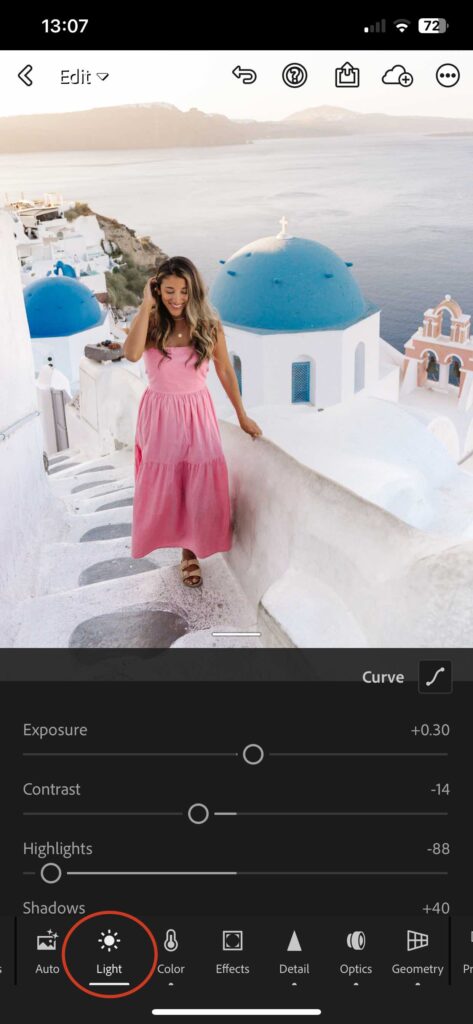
The “Light” Tab
Within the light tab you’ll find exposure, Contrast, shadows, highlights & blacks. The correct exposure can make a big difference in how your preset will affect your image. Paired with adjustments of the shadow and black sliders and you can achieve the perfect result. Also try experimenting with Contrast, lowering the contrast can balance out the tones of an image and increasing it can give it more pop. If a shot is looking too dull after lowering the contrast add a little vibrance to bring it back.
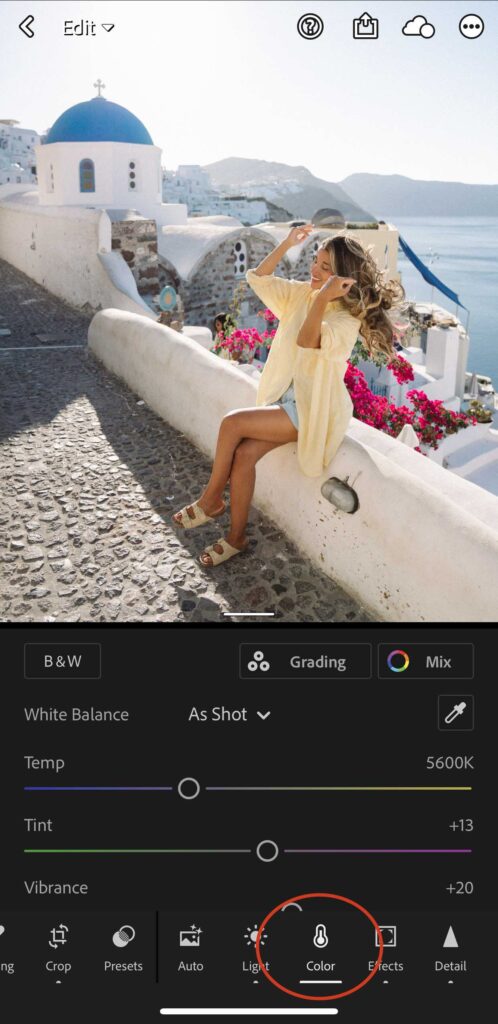
White Balance
The white balance can have a big impact on the final result of your photos.
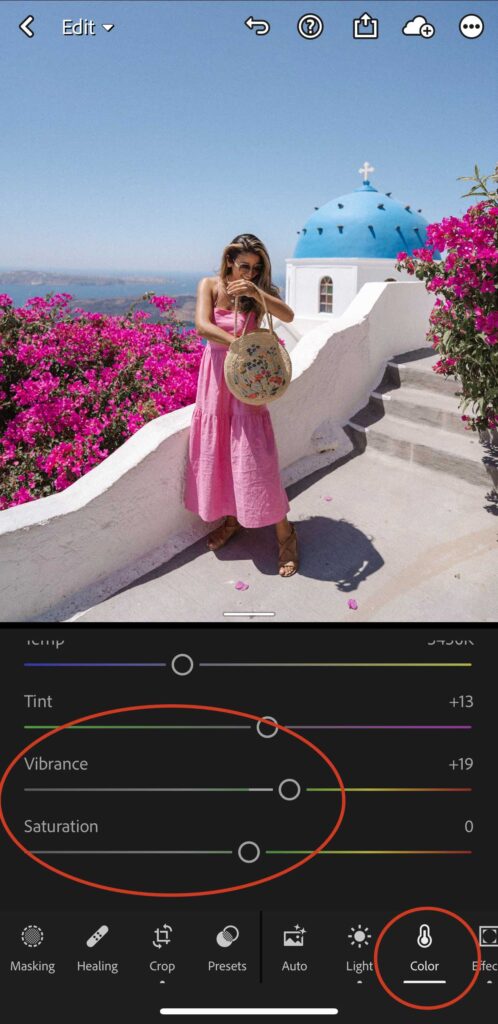
When editing in Lightroom the Colour tab is your best friend, here you can find the Temp & Tint sliders.
Make slight adjustments to the temperature or tint sliders as needed. If your image appears to warm, adjust the temperature to the left. If there’s a green tone throughout an image move the Tint slider towards the right or vice versa. Play with the sliders until the image feels right to you.
Vibrance
In the Colour tab you also find saturation and vibrance, we recommend using the vibrance slider to increase the intensity of the colours. The difference between vibrance and saturation is that vibrance increases the intensity of muted colours more than already saturated colours without affecting the skin tones too much.
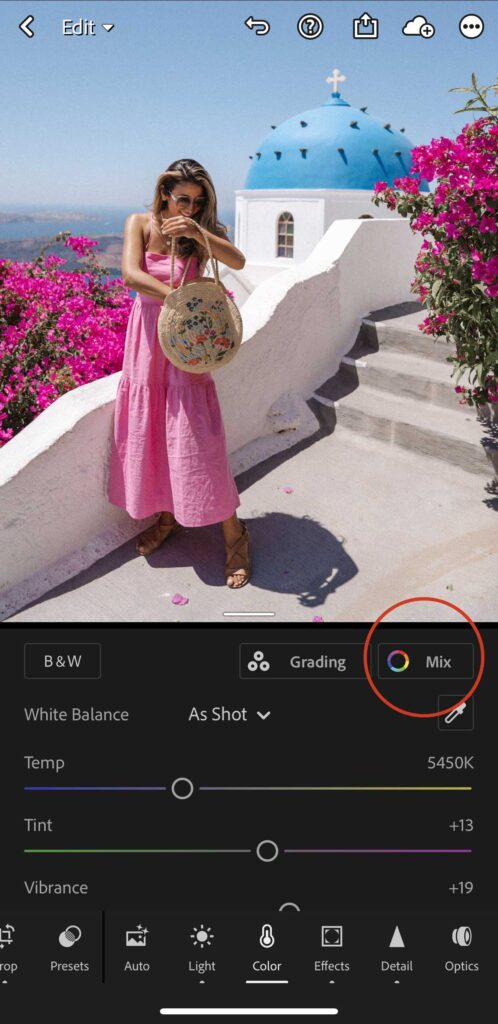
Colour mix
Our favourite tool is Colour mix where you can play around with individual colours using the HSL (Hue, Saturation, Luminance).
The MIX tool is a great option because it allows you to adjust each colour individually as needed.
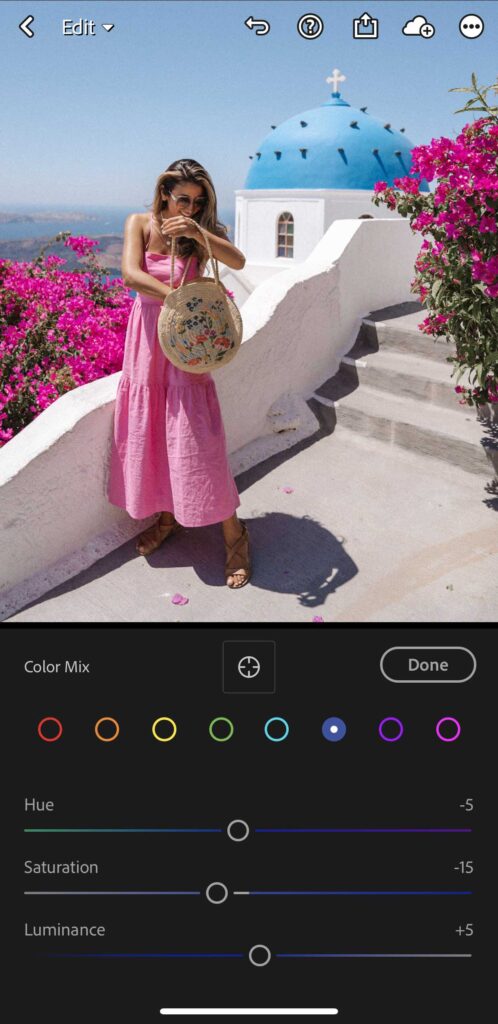
Do you want brighter blues? Select the blue HSL and increase the luminance. Do you want the blue to be more aqua? move the hue slider to the left. Do you want a more intense blue? move the saturation slider to the right. You can do this for any individual colour in your picture.
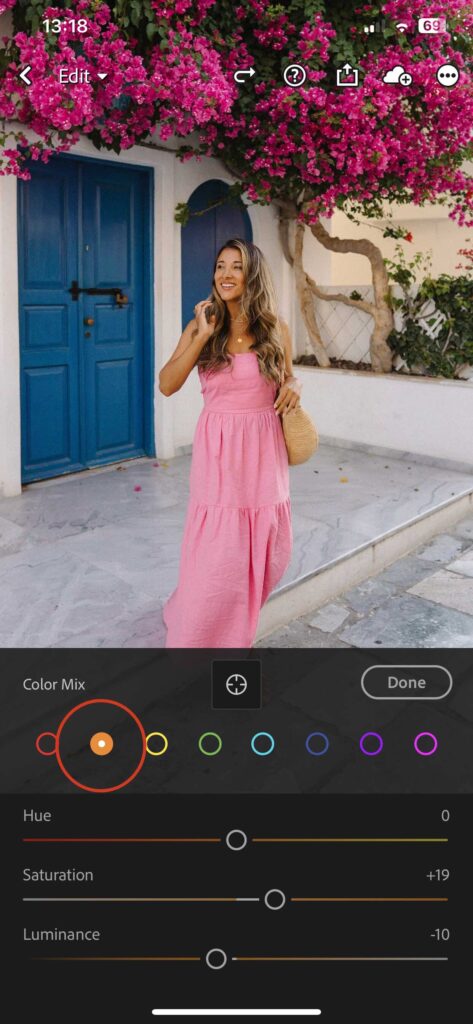
Adjusting skin tones
A common issue when people first start using presets is that the skin tone doesn’t look quite right.
Depending on your camera and the lighting conditions some presets may affect skin tones more intensely, if you’re not happy with the tone of your skin in the image use the Colour Mix tab and select the orange HSL tab (Hue, Saturation, Luminance). Then just balance your skin tone with saturation and luminance sliders until you are happy.
Perfect Lightroom Presets
Now that you know how to edit with Lightroom presets, you can take your edits to the next level and achieve the perfect look for your photos. Don’t give up on your Lightroom presets if they don’t work perfectly with just one click. Remember to play around with these adjustments to make the most of your presets.
If you haven’t already, check out our collection of Lightroom presets on our online store to take your photo editing game to the next level. Give your photos the professional touch they deserve and make them stand out from the rest. Start creating stunning visuals today 🙂
Shop Our Lightroom Presets here
While you here be sure to check out more of our creative tips Blogs
