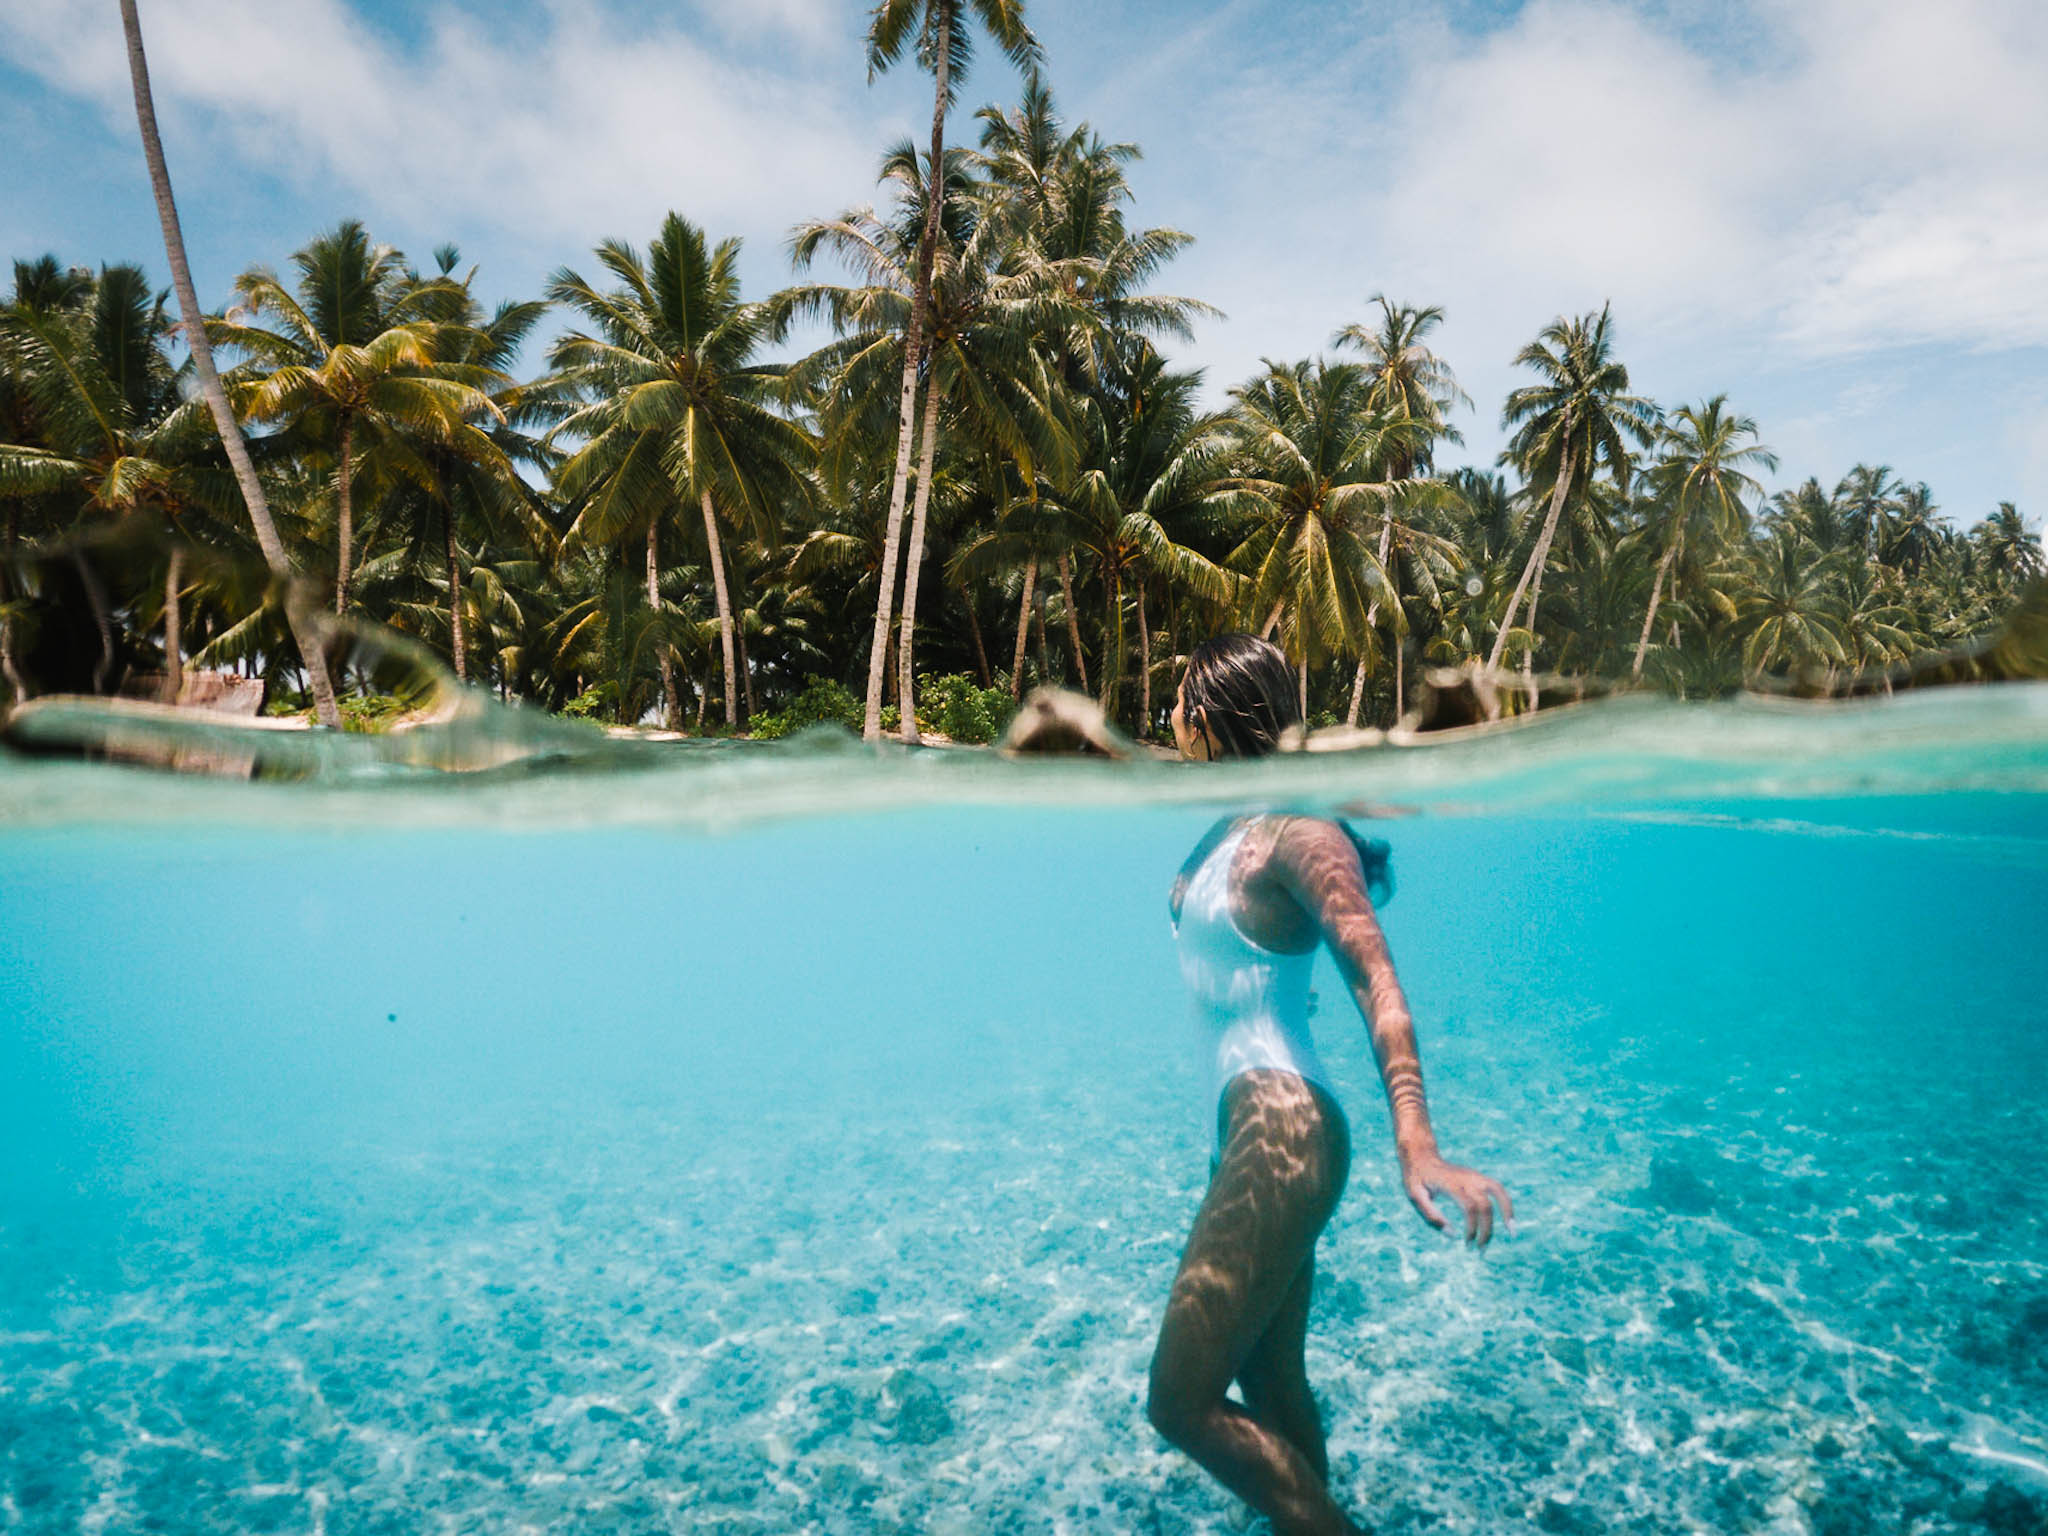
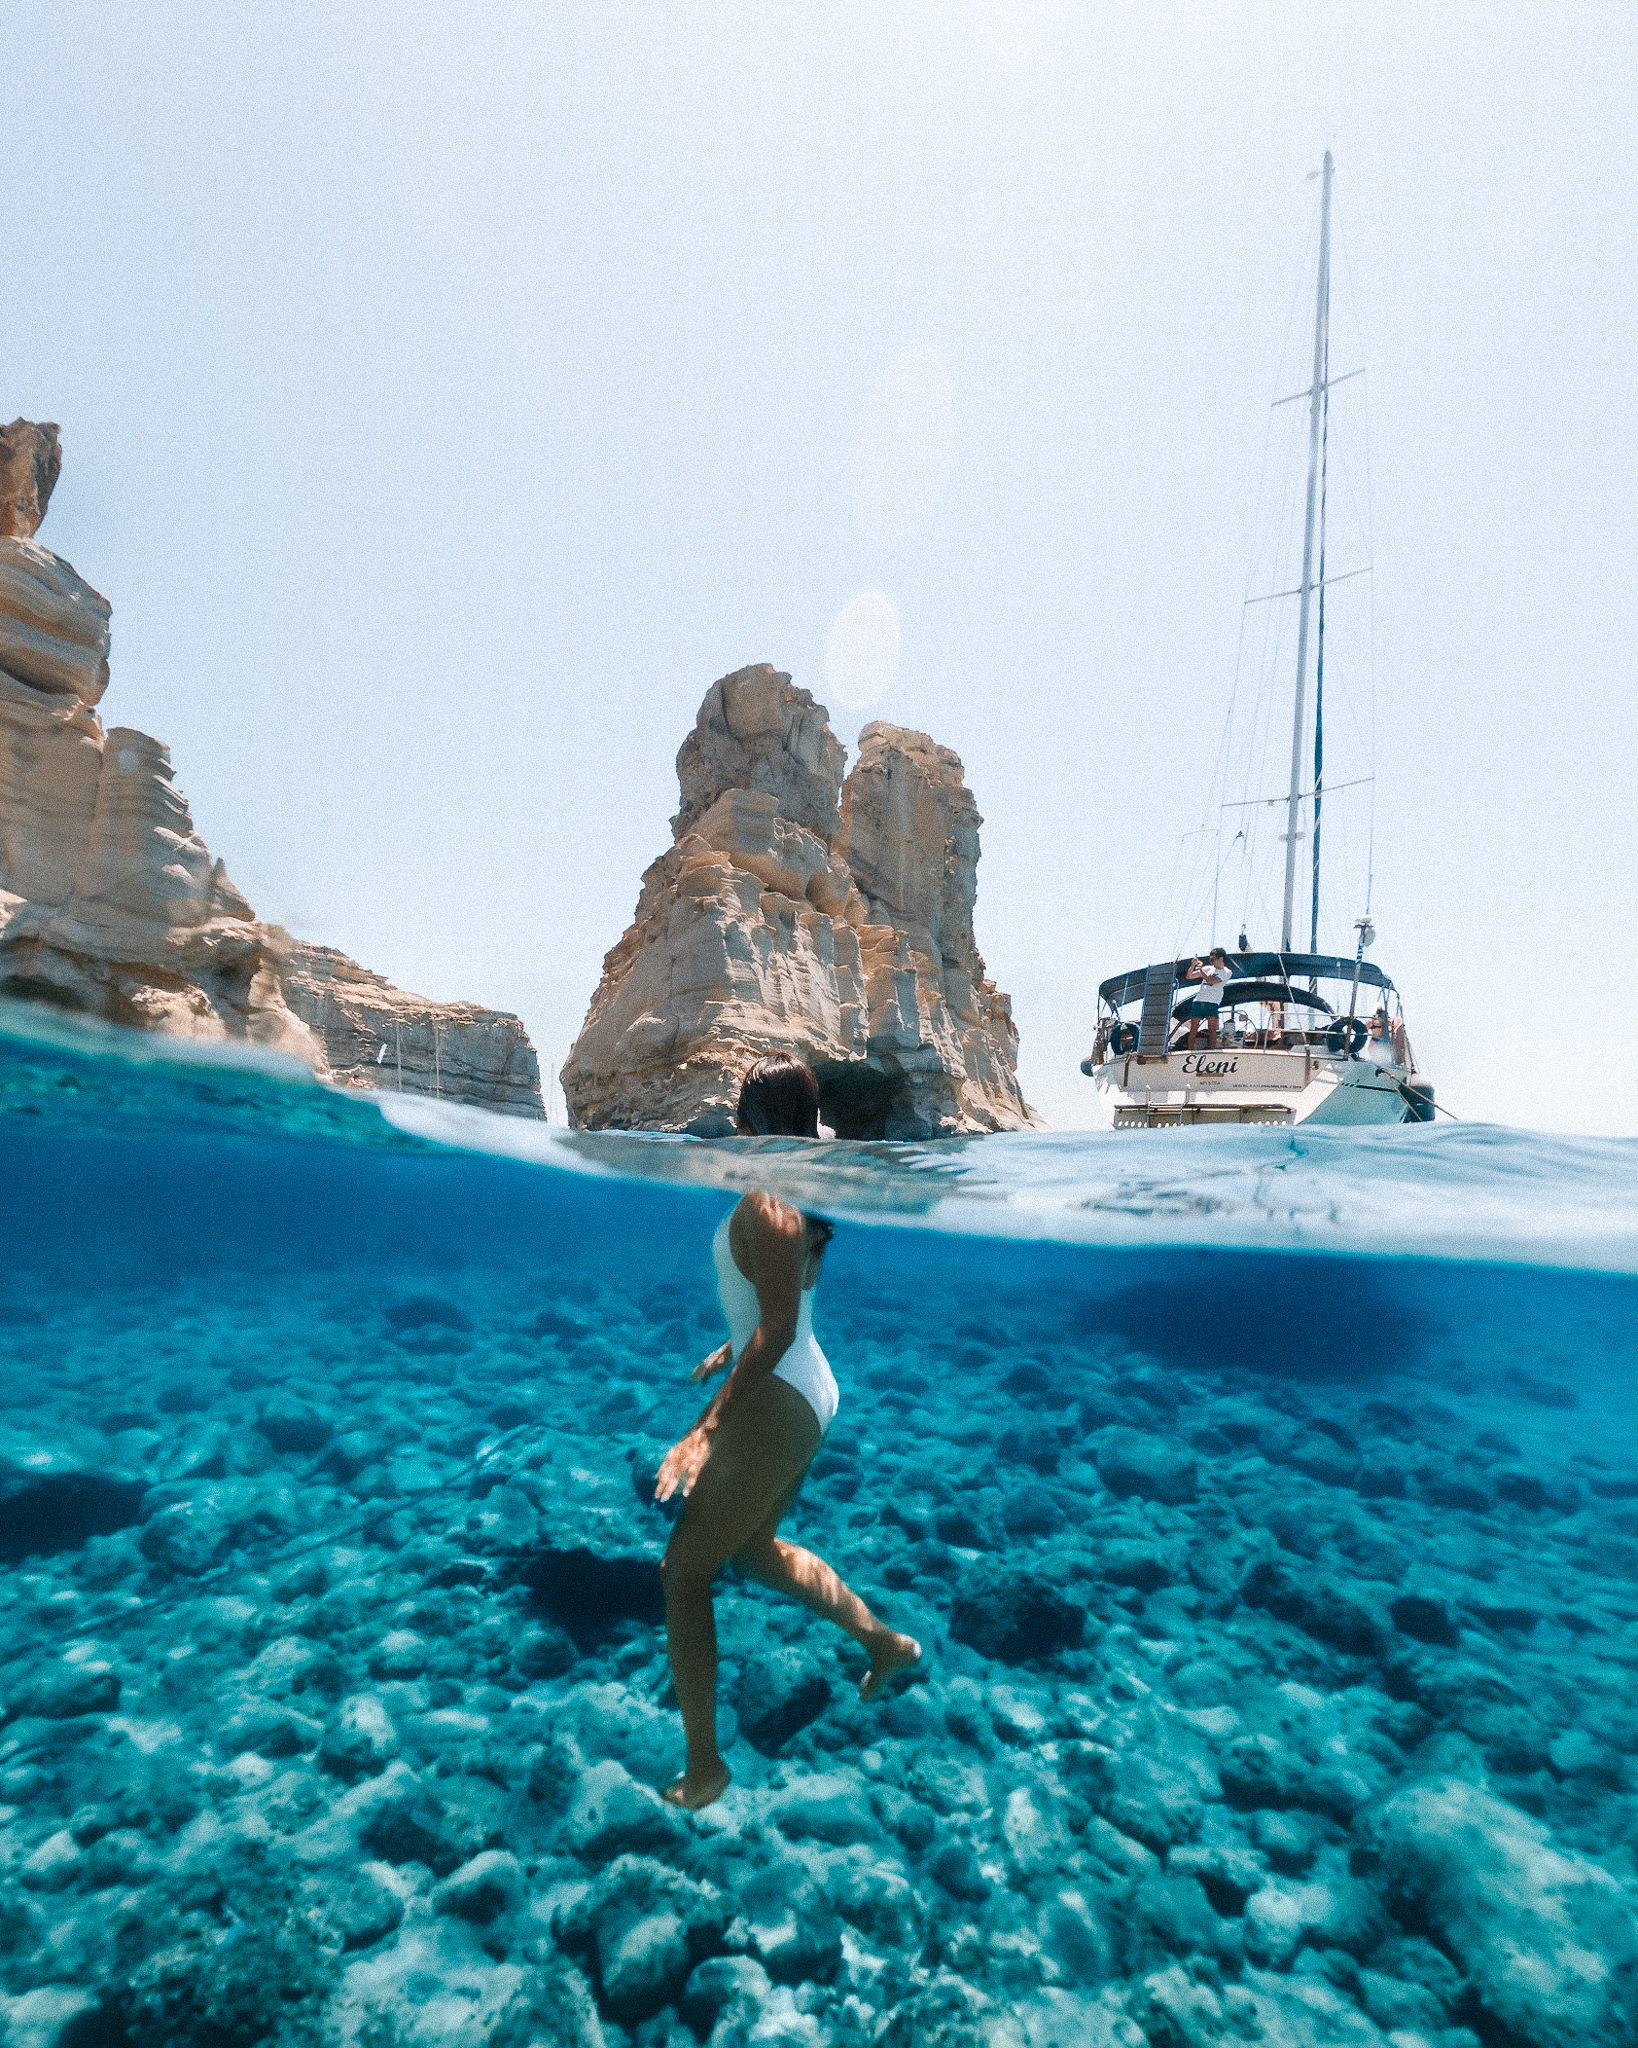
Want to get those eye catching GoPro Half Underwater photos? The key to getting half underwater split shots is using a Dome Port. GoPro Dome ports are relatively cheap and getting amazing half underwater shots is easy once you know these few tricks.
What is a GoPro Dome port?
Before diving into the tips let’s talk about the dome. The key to half underwater GoPro dome photos is using the right Dome port.
If you are asking yourself what is a Dome Port? well, basically it’s a big bubble lens that goes over the front of your GoPro. The larger the dome the more split half effect you’ll get. You can get some great results from inexpensive dome ports. We use a6″ Telesin dome port we picked up in Bali on the way to the Philippines for about $50 USD. Theres also the PolarPro Dome with access to the back screen. A few things to keep in mind when buying one are:
- Size of the dome ( the larger the more spit half effect )
- Material, is it glass or plastic? ( glass scratches less and won’t get as many water drops on it but its more expensive )
Shop the Telesin dome port here

Which GoPro?
You can use any GoPro but we recommend and use the GoPro Hero 11 Black. Its the latest version and the quality you get from this tiny camera is amazing. The best thing about the GoPro Hero 11 is the ability to shoot RAW format in all photo modes including sequence. This really is necessary as you will need to edit your GoPro dome shots to get the best results. For editing all our GoPro shots we use our Lightroom Travel Presets available for you here
Shop the same GoPro 11 we use here

Tips For GoPro Half Underwater Dome Photos
Tip 1
Use Eco-Friendly soap
To stop water droplets from sticking to your dome and ruining your shots, rub some eco friendly liquid soap over the outside of the dome before taking it into the water, this will help stop the water from creating blurry spots on the dome. If you don’t have soap you can spit on the dome and rub it around, I know it sounds yuck but it actually works. The best way to get the least droplets is quickly dunking the lens a second before you take your shot then recompose and shoot. That way the water wont have as much time to form droplets.
Tip 2
Shoot burst mode
The trickiest thing is timing the water ripples and waves across the dome, we always shoot in burst mode. We recommend shooting the maximum possible burst mode, this will give you more chance on nailing the best half underwater moment.
Tip 3
Shoot RAW
We recommend shooting in RAW image format for best results. When shooting under over GoPro dome shots you will get very bright exposures above the water and dark below. Shooting in RAW will give you more image data so you can balance out the exposures in editing. It will also allow you to adjust the white balance of certain areas of your shot to make it look more natural.

Tip 4
Shoot wide mode
Shoot wide mode and vertical this will make the most of the split effect. Shooting wide will also give you the best file size quality. You can always crop in and reframe later if you like.
Tip 5
Play with the tilt
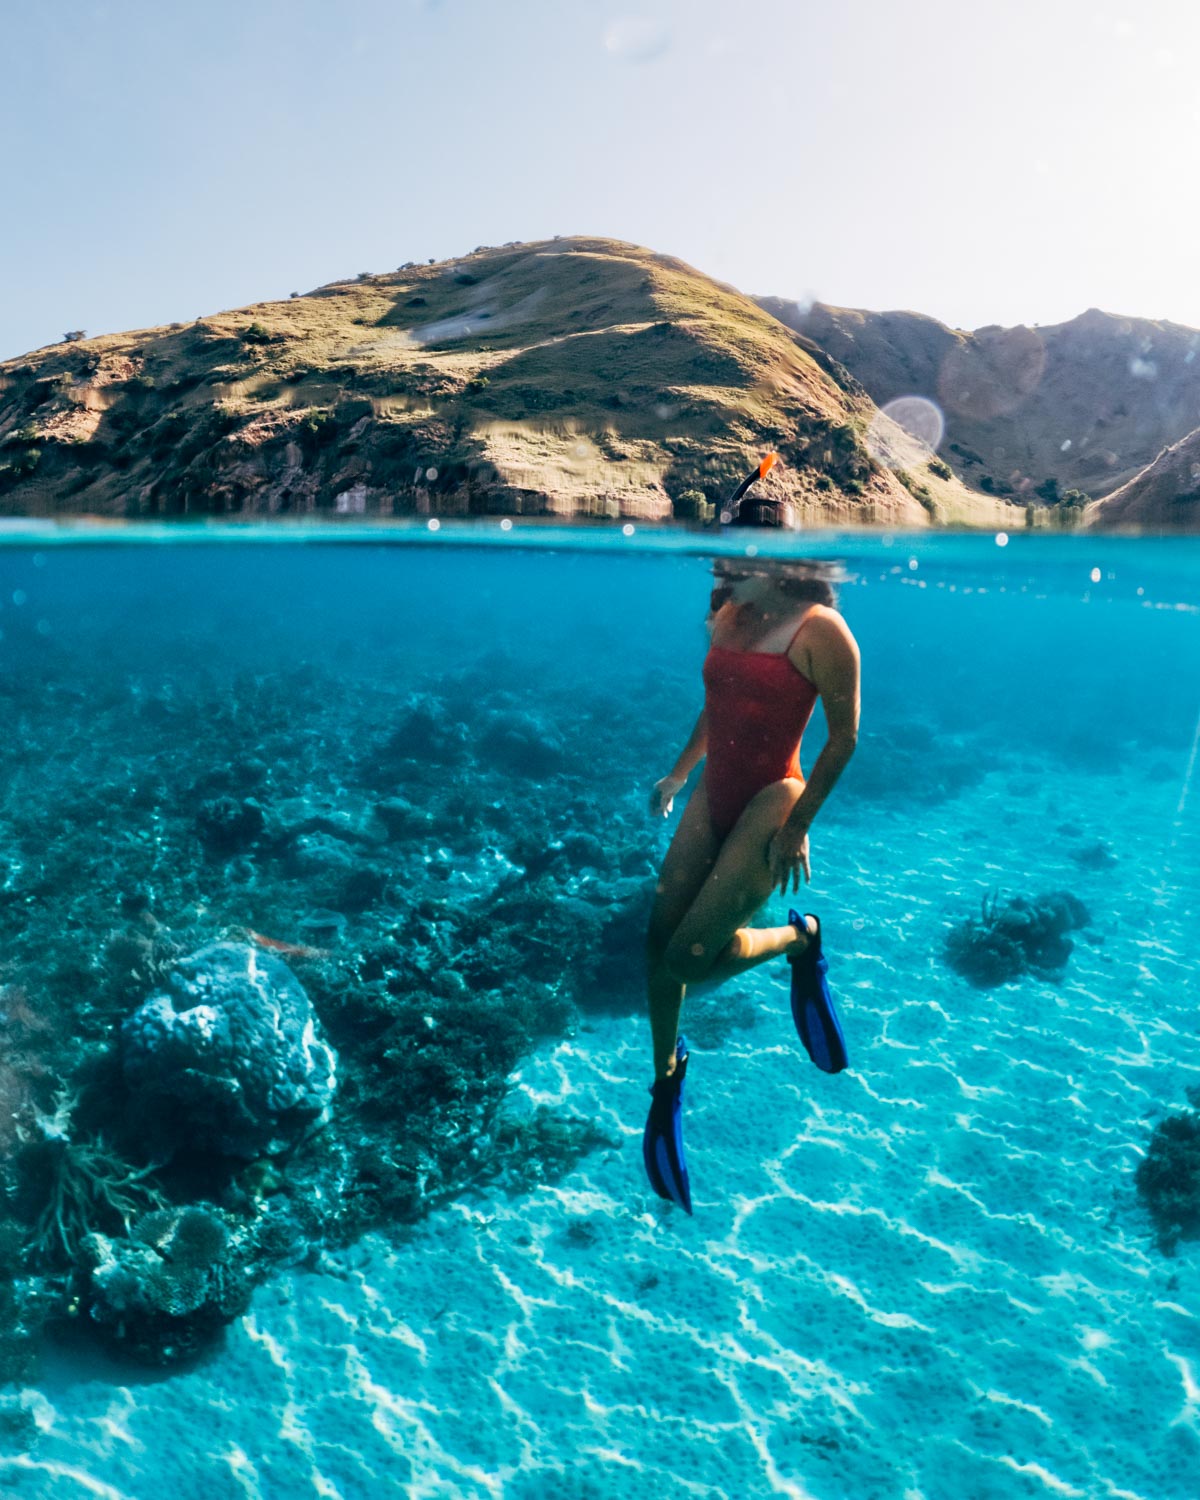
Tilting the dome can give dramatically different perspectives depending on what you want to focus on, more below or more above. Also experiment with your split line, it doesn’t necessarily need to be in the middle 50/50 you can try 60/40 or even 80/20 depending on whats in your frame.
Tip 6
Shoot with the sun behind you
For best results shoot with the sun behind you. This will reduce flare on the dome port. As well as reduce the possibility of the camera lens and parts of the port reflecting back on the inside on the dome.
Tip 7
Select an interesting backdrop for your half underwater photos
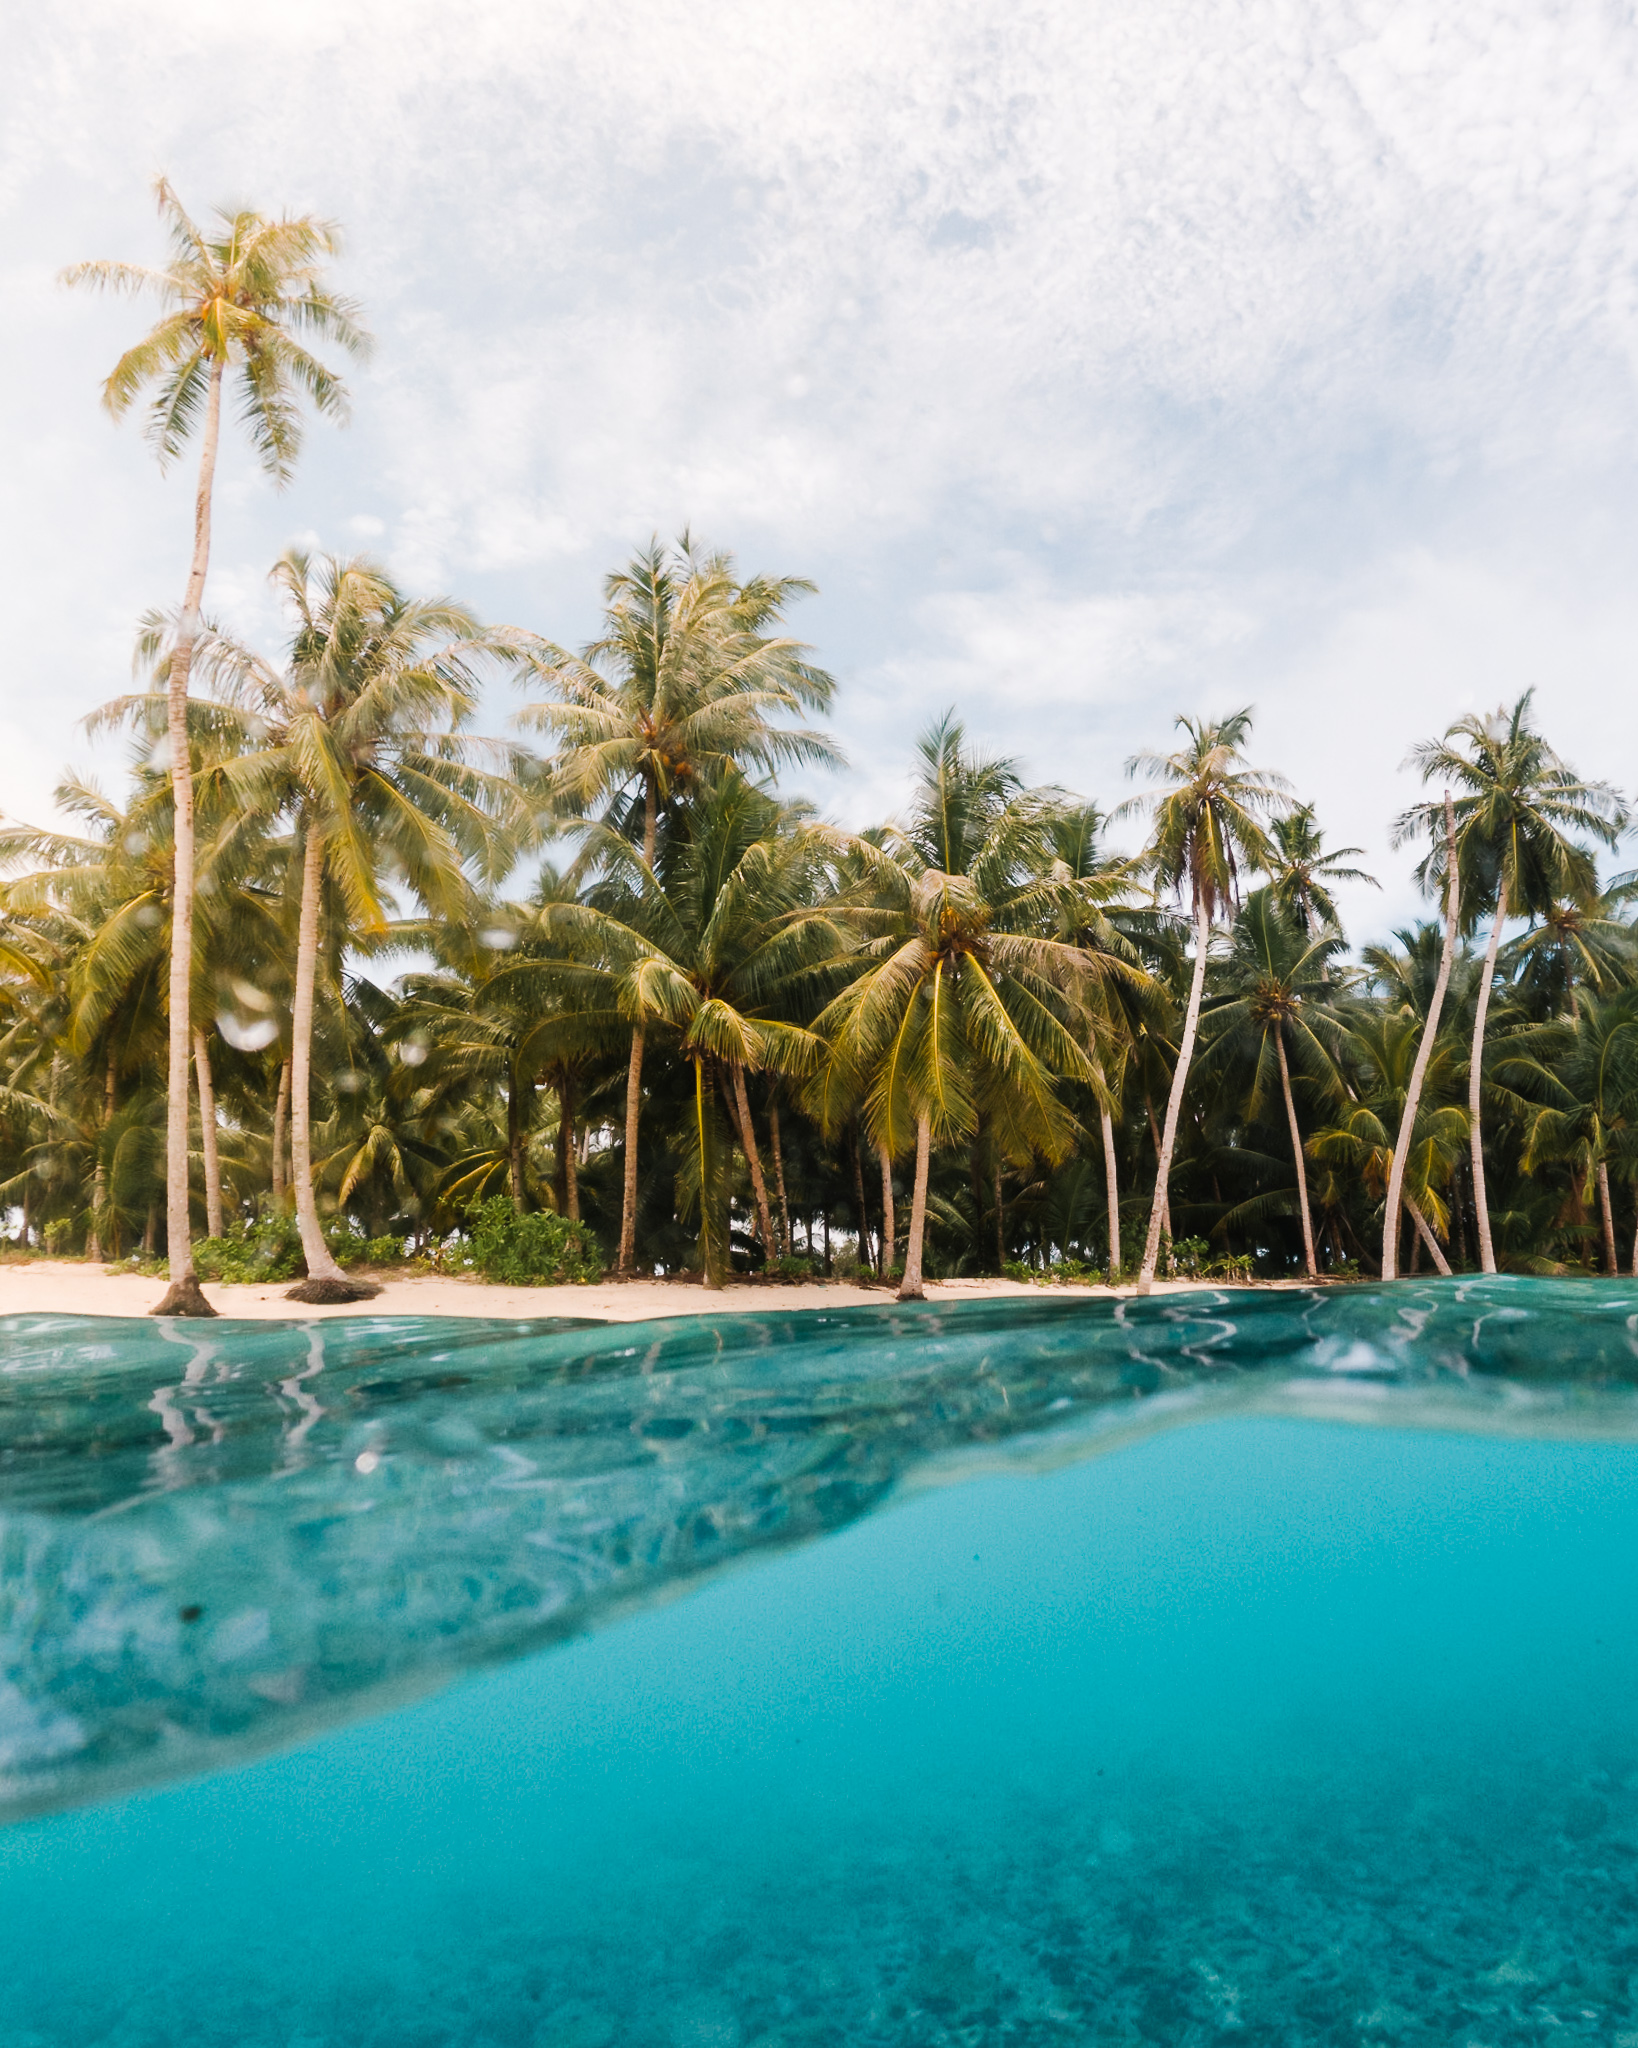
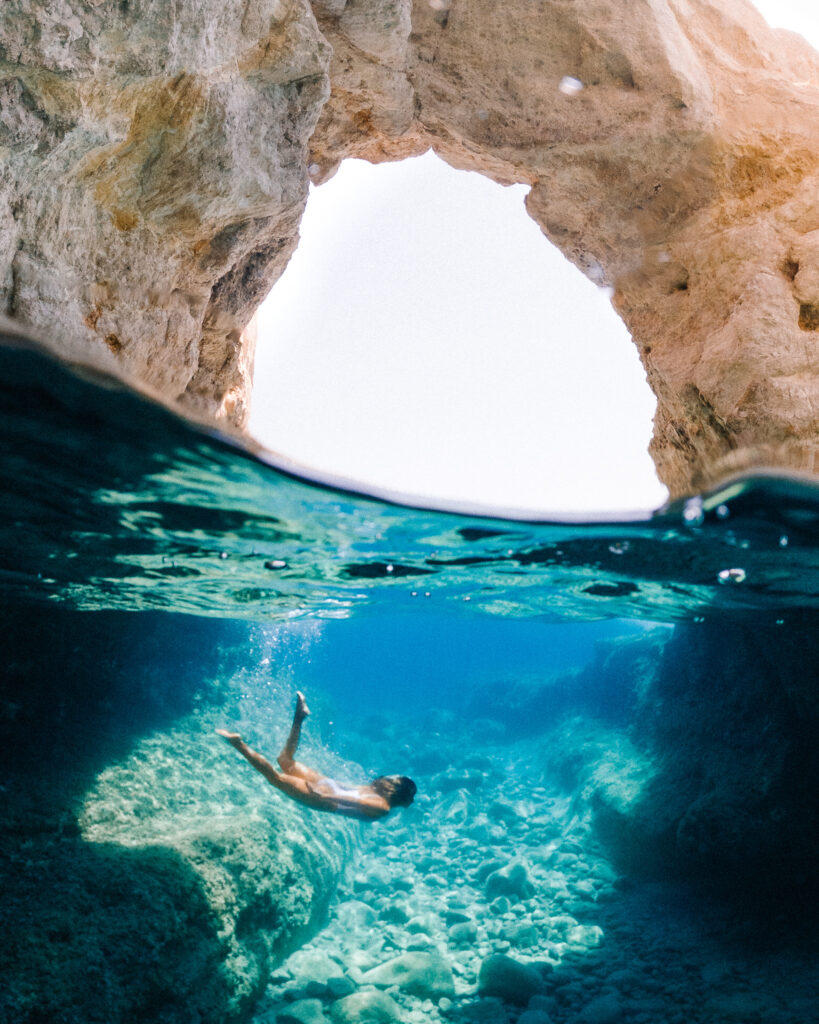
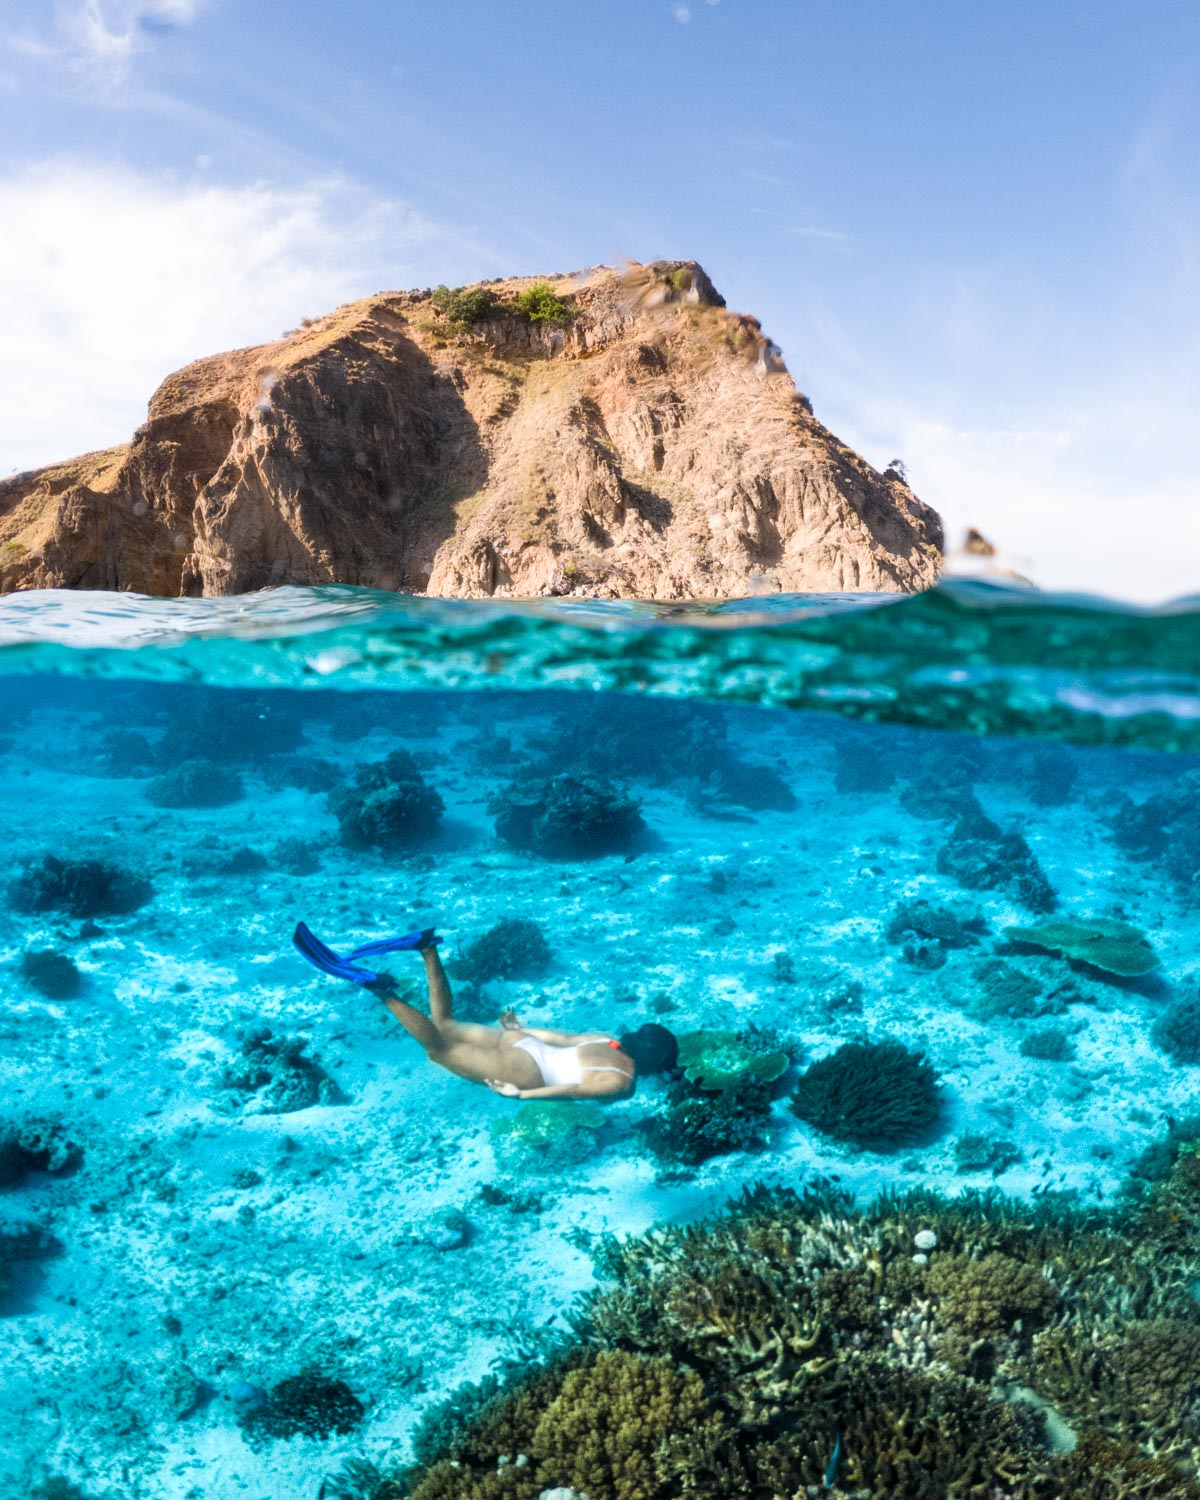
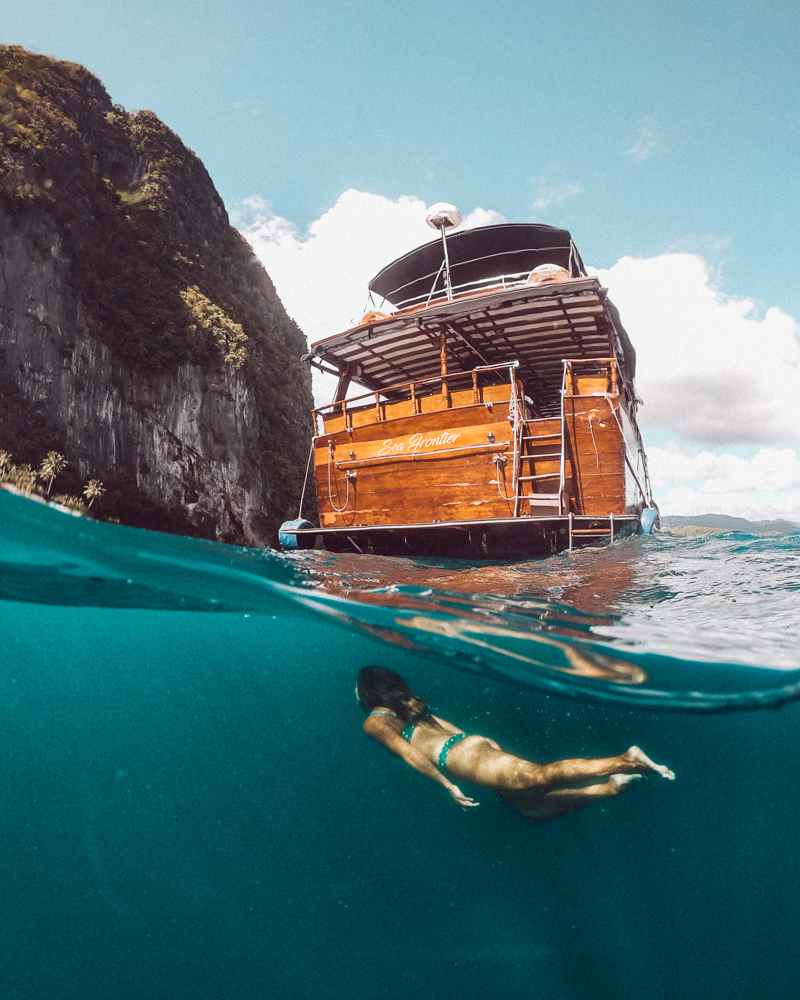
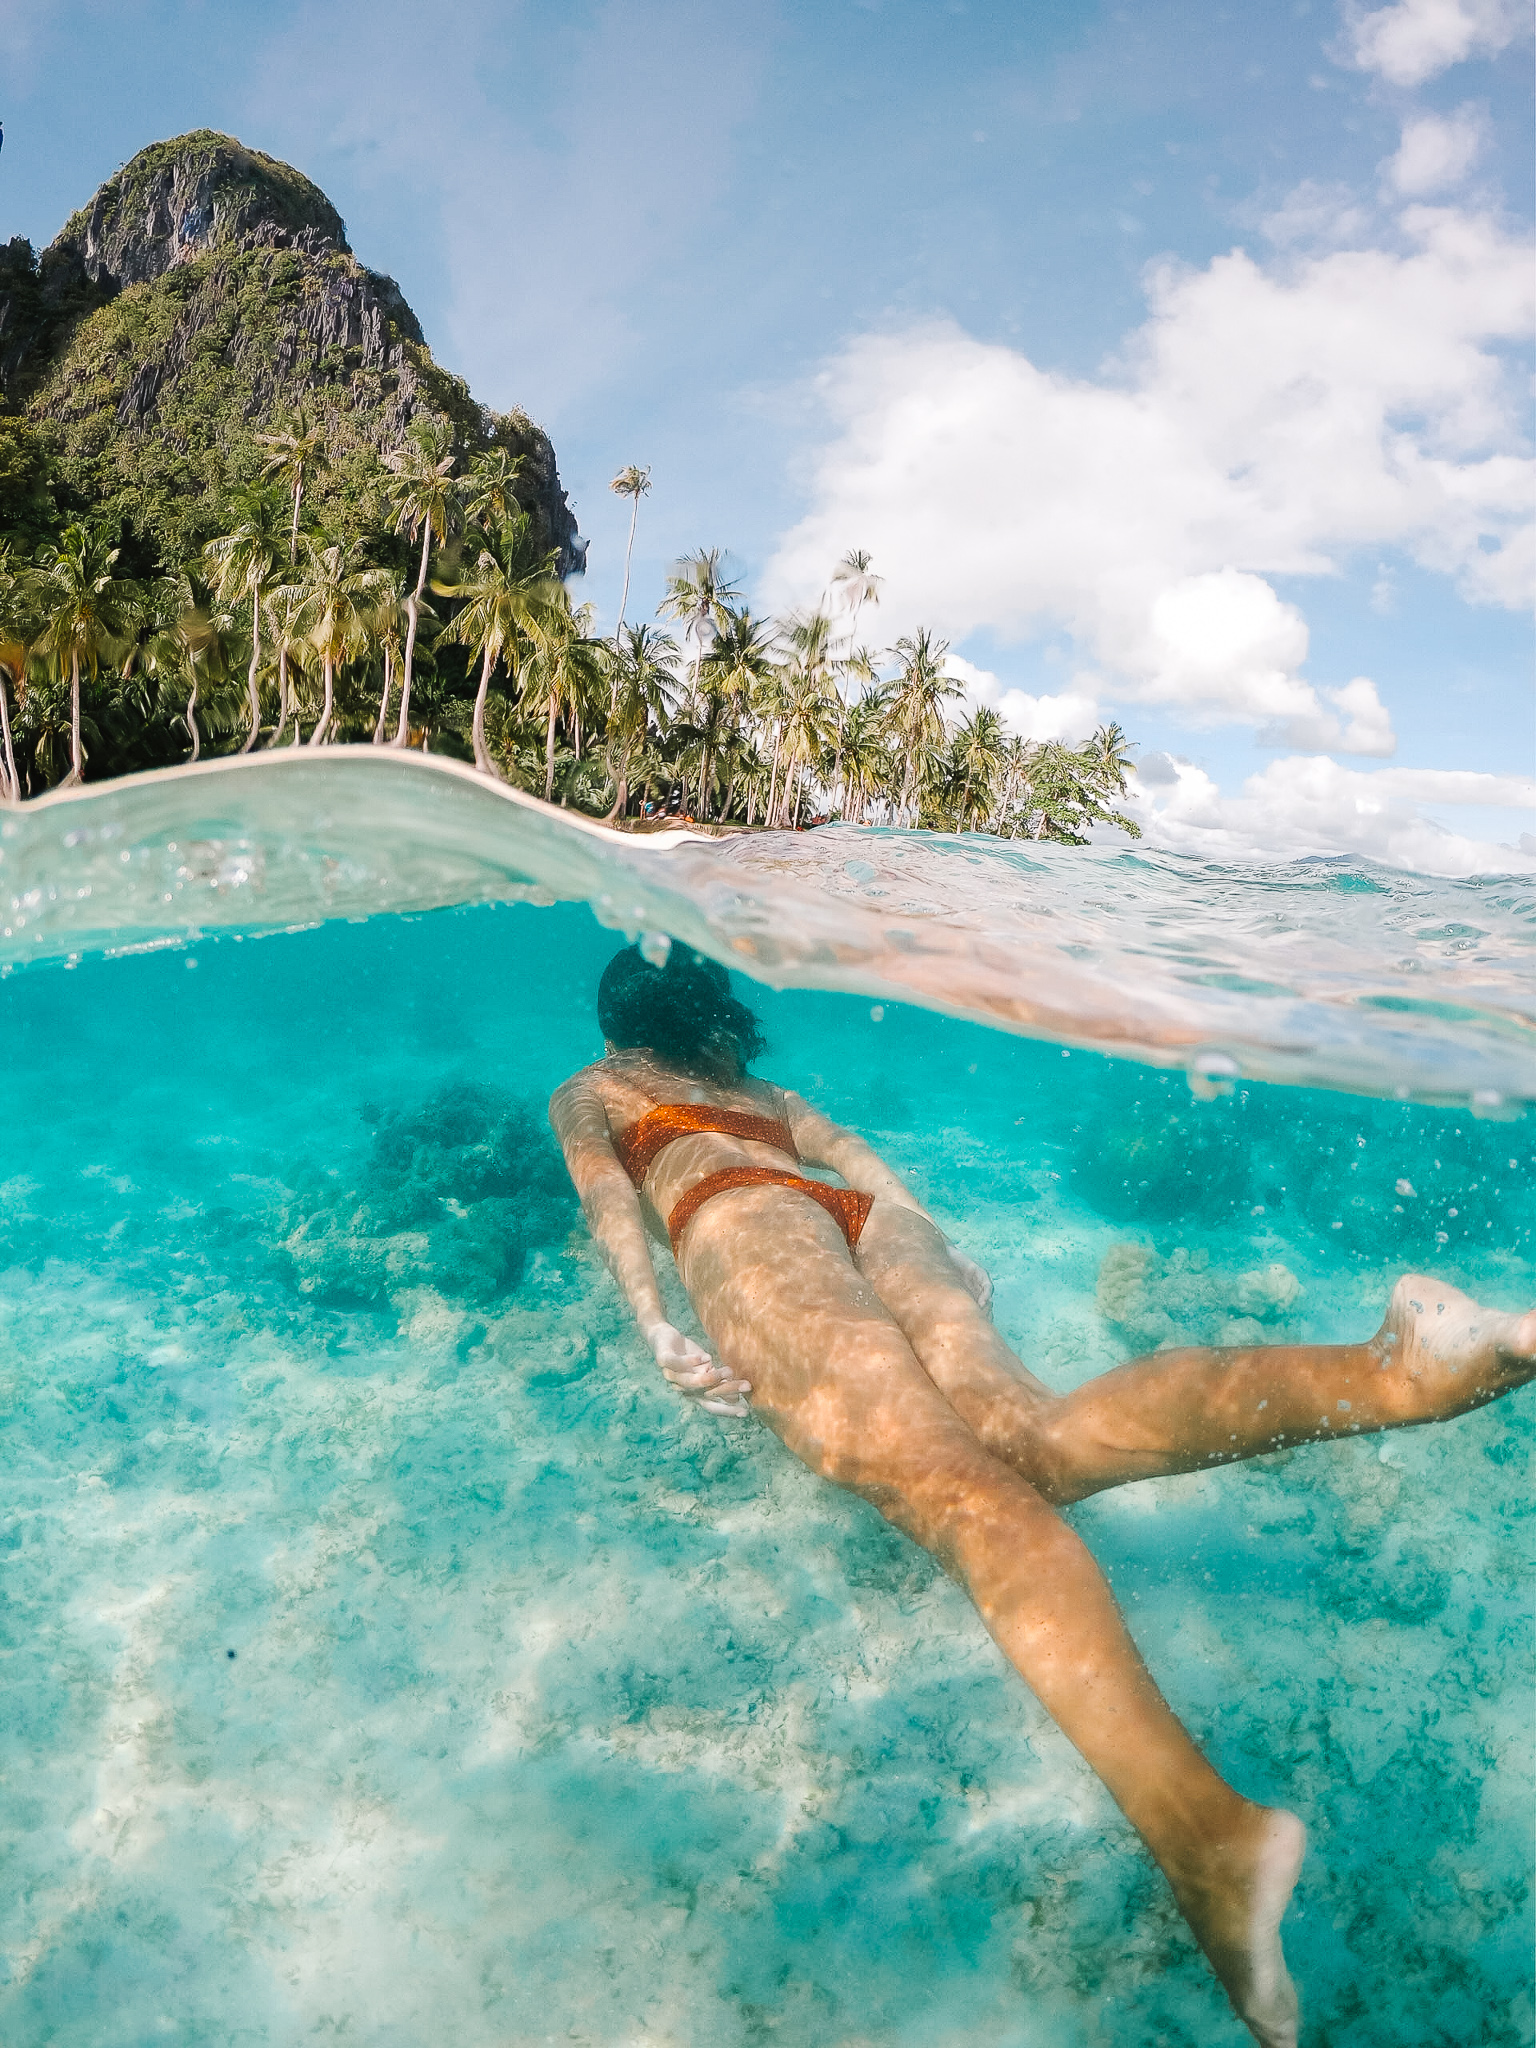
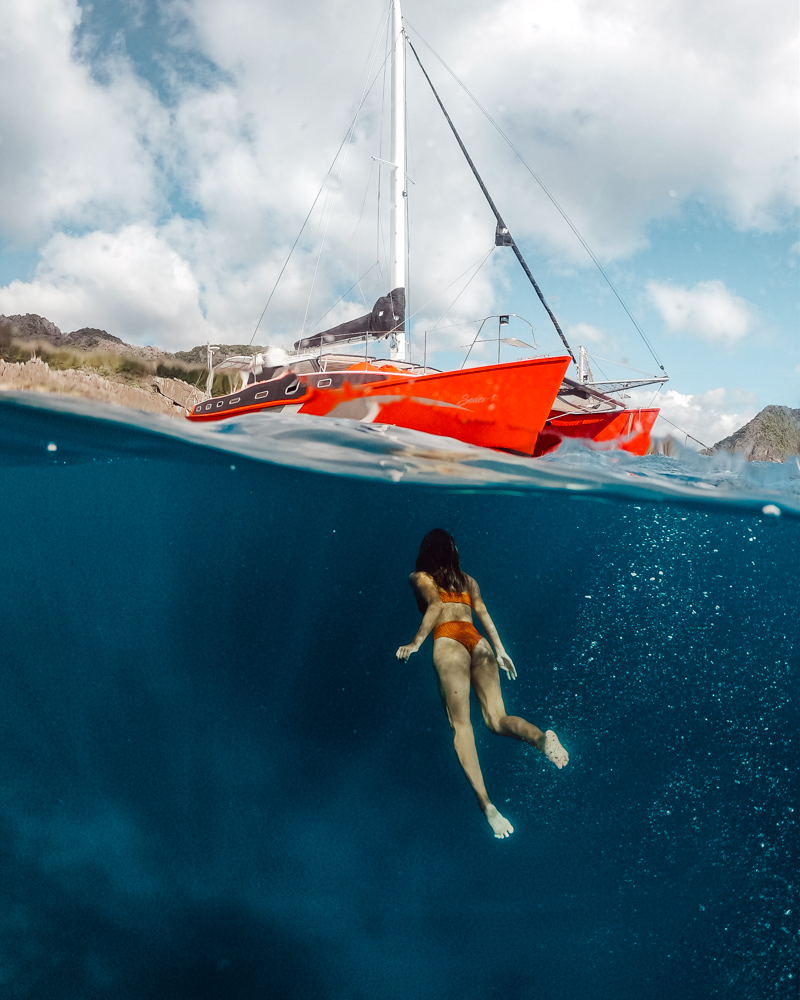
For the above half of the shot we try and experiment with a close dramatic backdrop like a boat, cliffs, person or palm trees to fill the sky rather than just empty space. just remember when you shoot wide mode on GoPro things look further away so getting up closer than you think helps.
Tip 8
Calm days
Try to find the clearest water possible, calm days, away from breaking waves and fine sand particles will help give you clearer water. Shooting in shallow water with light colour bottoms such as coral or white sand also helps to light the bottom half of the shot.

Tip 9
Bring back colours and depth with editing
Split shots will always need a bit of editing to bring out the best in them, we use Adobe Lightroom Desktop and free Lightroom Mobile app to edit our shots with our Lightroom presets available here to get the best colours.
Tip 10
Edit using gradual filters to balance your half underwater GoPro photos
One key feature in Lightroom Desktop and the Mobile app is the graduation filter and brushes, using these will let you adjust the exposure of the under water part of your shot. With most split shots the exposures will be very different between above and below parts of the image and need balancing out.
Bonus Tip
You don’t need to use the GoPro dome port just only for split shots. Using the Dome also helps keep particles and sand in the water further away from the GoPro’s lens resulting in much clearer underwater shots in general. So getting one is a win win all round 🙂
If you enjoy this you might like some of our other photography tips
Want to edit you photos like ours?
We edit all our photos with Adobe Lightroom using our custom Lightroom Presets available for you to download here
What other photography Gear do we use?
You can find our full list and links to the exact photography and video gear we use on our Amazon store here