The Best Reels Editing app in 2024
Navigating the world of Instagram Reels can be a rollercoaster. A common question is, what’s the best app to edit Reels? and How to get high quality Reels. I’ll walk you through my personal editing process, my go to Reels editing app and shed light on some of our other frequently asked questions.
1. Editing: Choosing the Best Reels Editing App
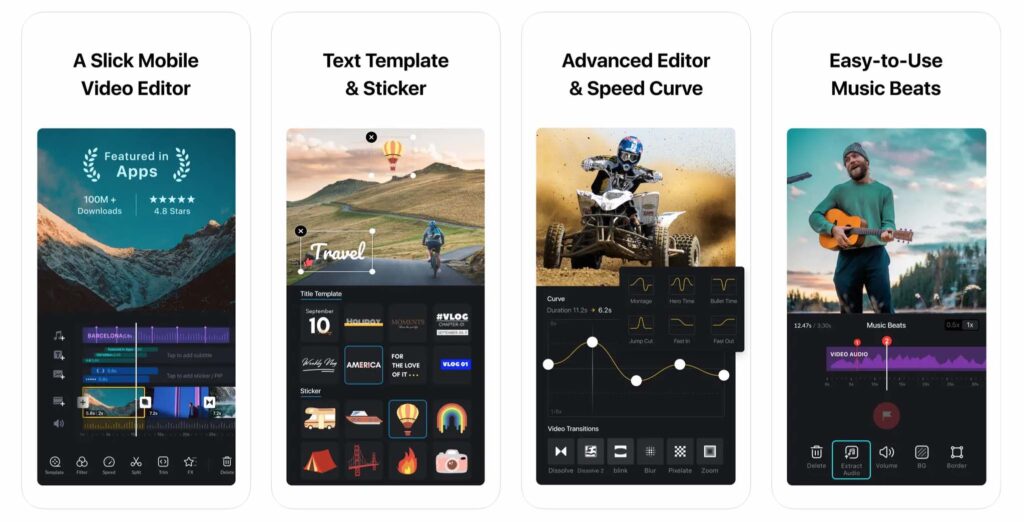
The app you pick can make all the difference. My go to app to edit Instagram Reels is VN Video Editor App. It’s versatile, user friendly, and tailor made for mobile creators on the go. The free version is packed with all the features you need. And allows you to have a lot of custom control over your edits. Making it my top recommendation for anyone looking for the best free app to edit Instagram Reels. It’s available both for iPhone & Android.

2. Equipment:
While your own creativity and editing is the primary driver, the right equipment will ensure you get the best quality to start with. Heres what I use:
Phone: I currently use the iPhone 13 / 14 Pro Max for all my videos. I try to go for the biggest storage because videos take up a lot of space and I don’t want to have to wait for them to sync back from the cloud when traveling.
Also, remember you don’t need the latest phone some of our most viral video where shot on iPhone 11.
Gimbal / Stabilser: We also use the The DJI Osmo Mobile 6 Gimbal it helps to make shots extra smooth. Perfect for fast moving shots, creative moves & hotel walk throughs.
Case & Filters: Sometimes I use a Polarpro Litechaser case that allows me to attach filters to it. To make oceans blues and landscapes pop I’ll use the Polariser filter (CPL). For glowy aesthetic evening and night shots I use the 1/4 Mist Diffusion filter that makes highlights glow.
You can explore all my mobile video gear list on my Amazon store.
3. iPhone Settings: How to get the best quality for Instagram Reels
The right settings can transform your content, you can use these same settings on iPhone or Android to get the highest quality.
Daytime shots: 4k 60fps. These settings will give you the sharpest videos possible, and using 60fps will allow you to slow your shots down up to 50% in editing if you like.
Night shots: 4k 30fps. This will give you better low light performance and less grain. Under exposing night shots by dragging down the exposure slider slightly also helps to make night shots look cleaner.
4. iPhone LUTs & Color grading: The Secret to Unique Stand Out Reels
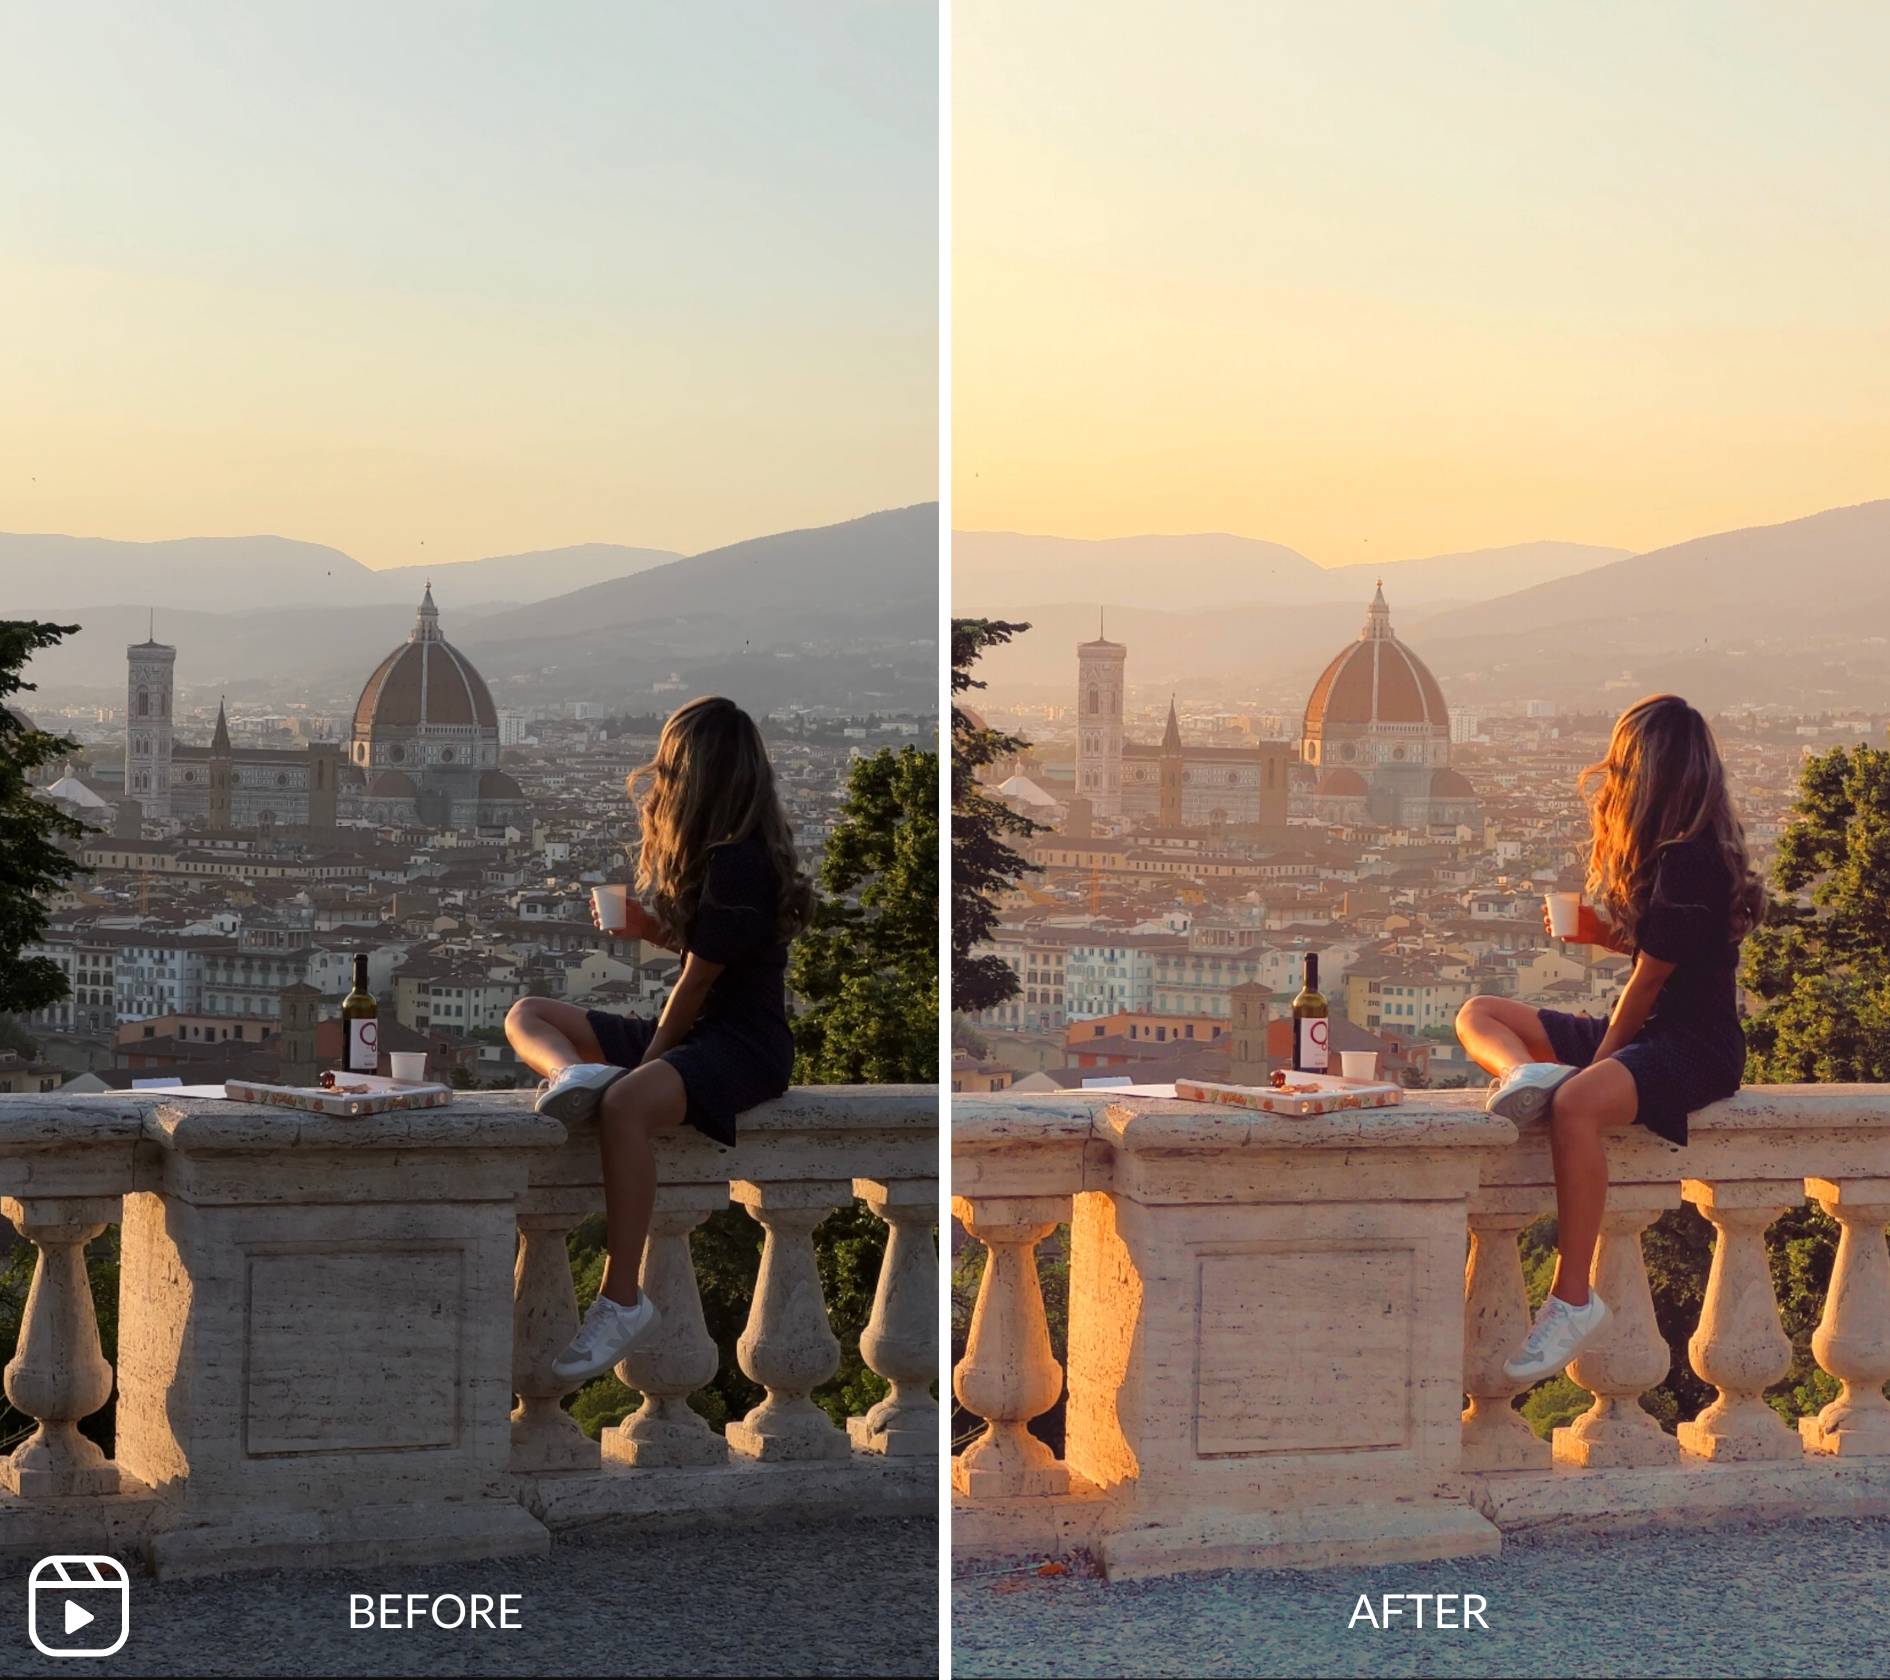
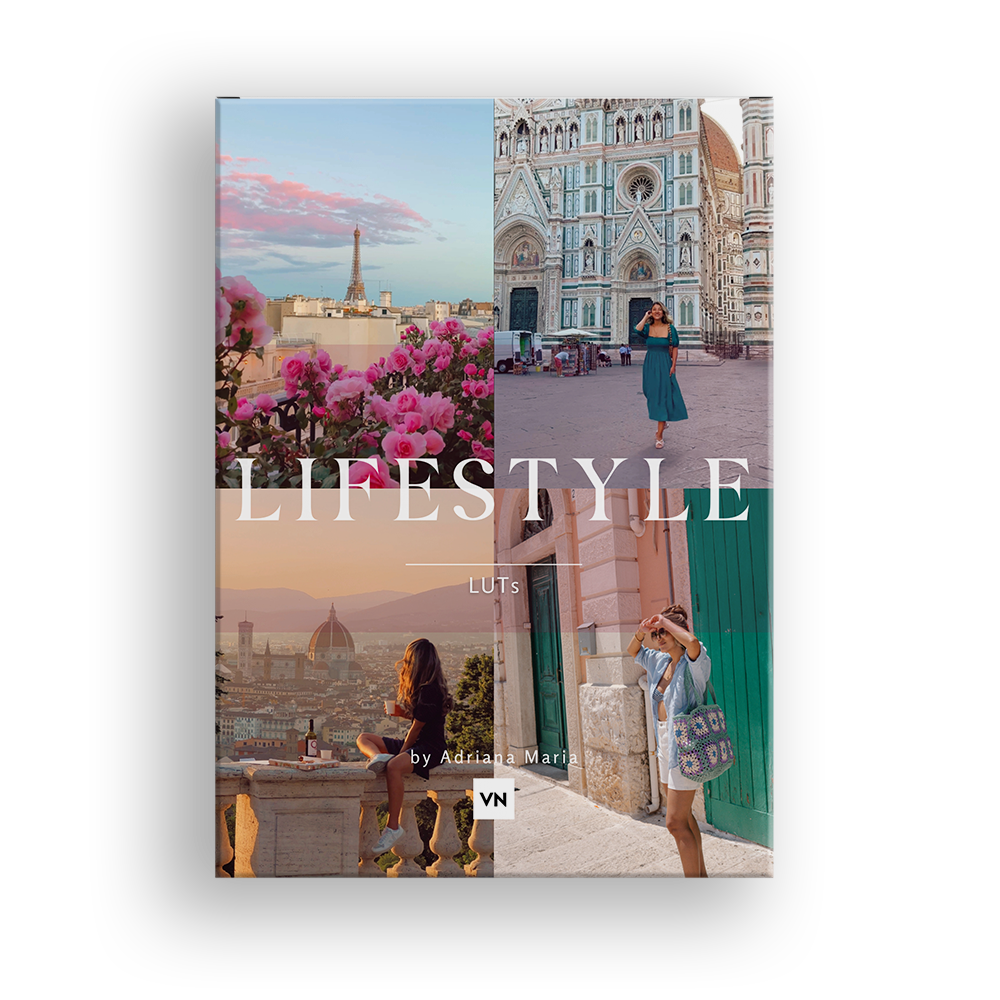
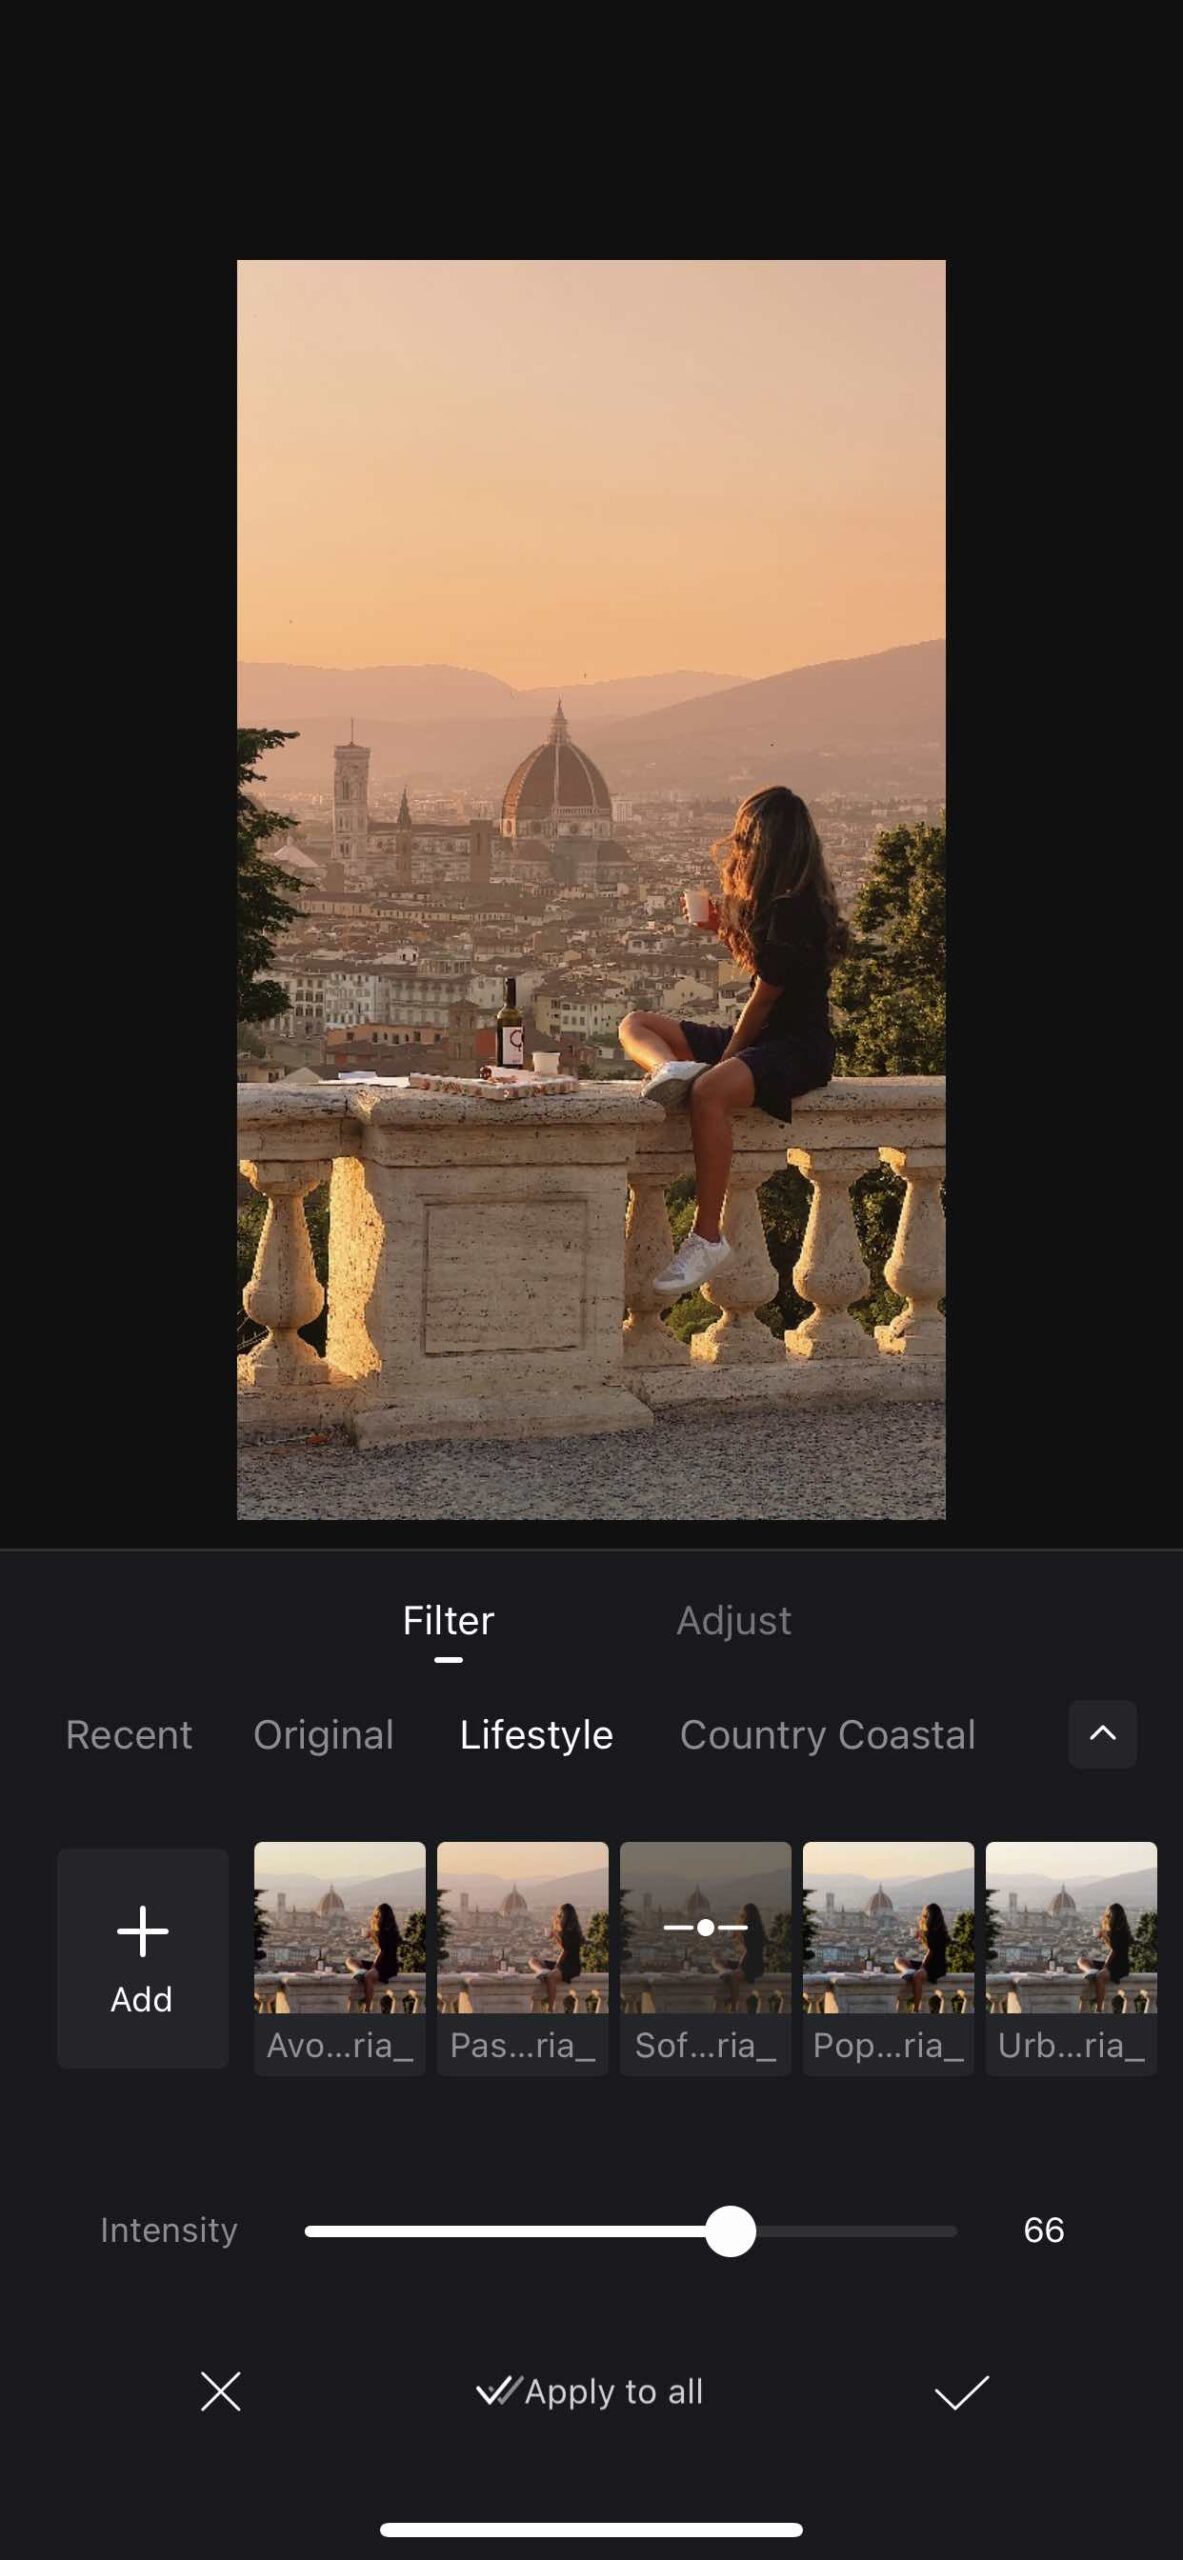
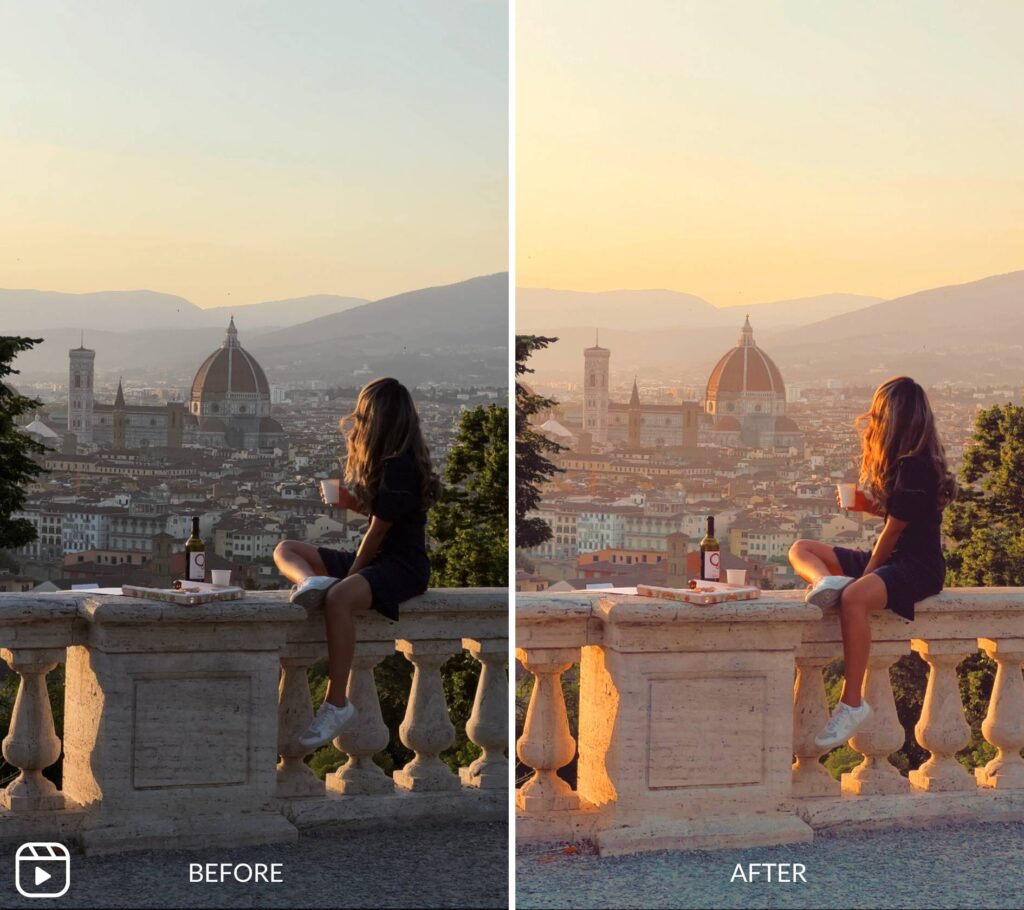
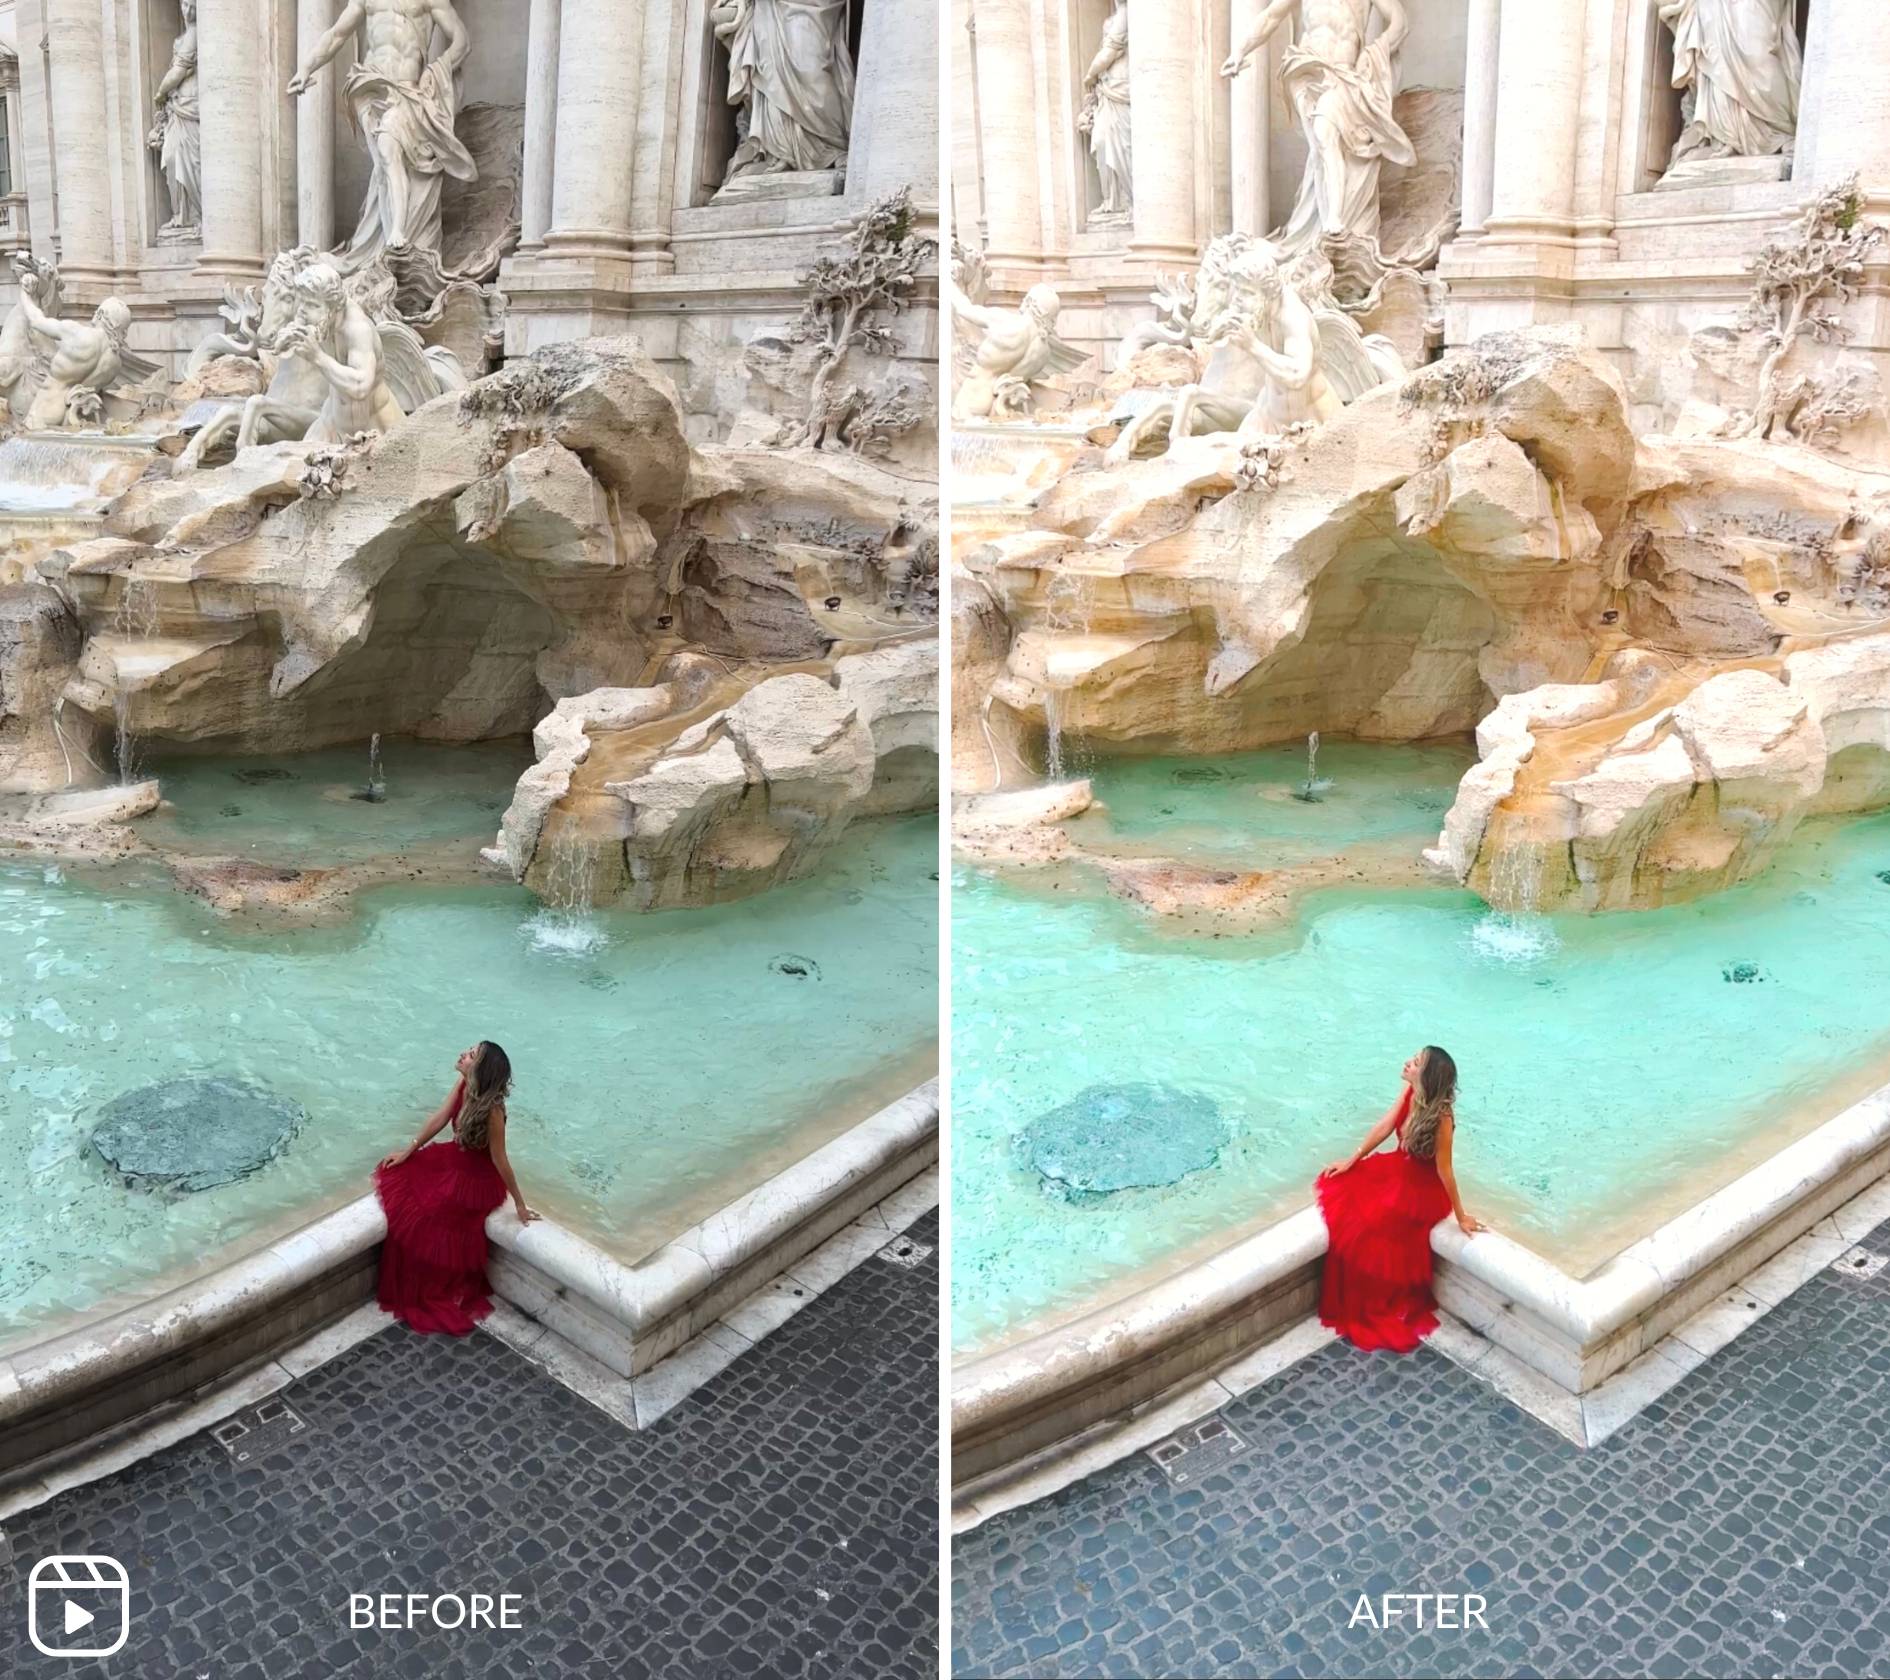
Every reel I create is edited with my custom iPhone LUTs (mobile video filters). Imported directly into the free VN Video Editor app, they give my videos a unique aesthetic colour grade.
iPhone videos are a bit dull straight out of the camera and not quite what you see in real life so adding iPhone LUTs enhances just the right balance of colours. Colour grading is something many content creators, including myself, use to make their reels stand out and keep a consistent feed aesthetic. If you’re looking to elevate your video content and get a consistent look on your Instagram Reels, check out my collection of LUTs (mobile video filters) Here
Shop mobile video filters here
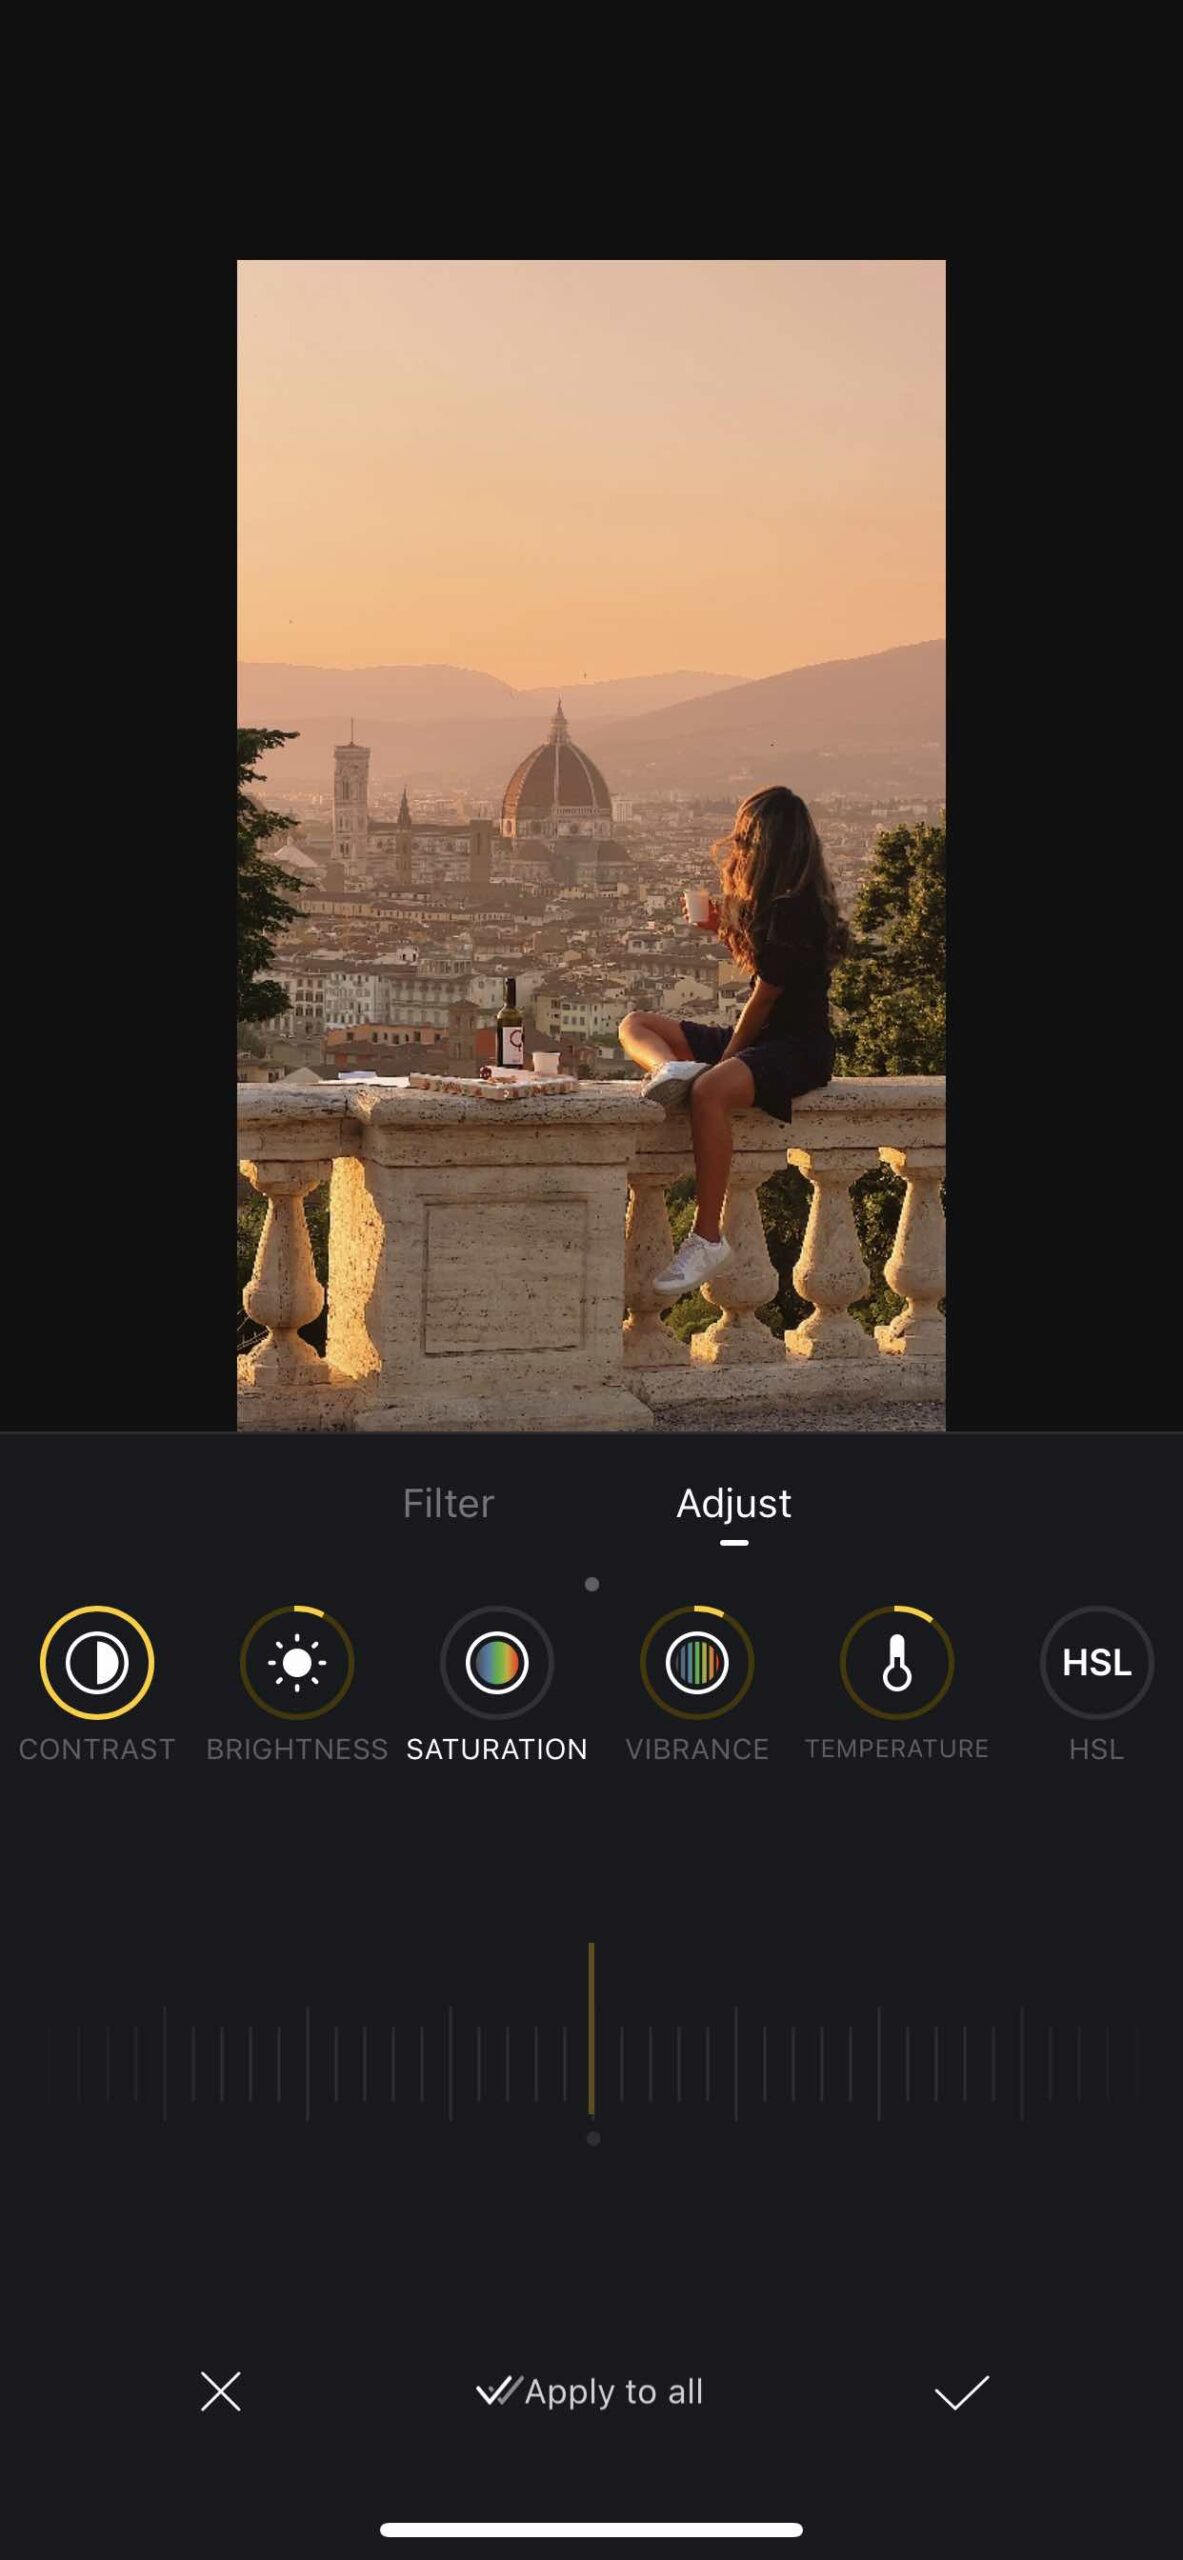
Editing Colours: Once I’ve chosen one of my filters that suits the clip I head to the adjustments tab in VN Video App and usually tweak the contrast, vibrance, white balance, highlights and shadows. I’ll play around with the adjustments till it feels right. You’ll be surprised how much of a difference you can make.
5. Get more tips with Our Mobile Video Guide
While this post skims through the basics, I have so many more mobile tips and tricks to share with you. Check out my full Mobile Video E-Guide. It’s packed with insights like export settings to get high quality sharp Reels, social media SEO tips for better Reels engagement, lighting techniques, my in depth colour grading tips and much more.
